|
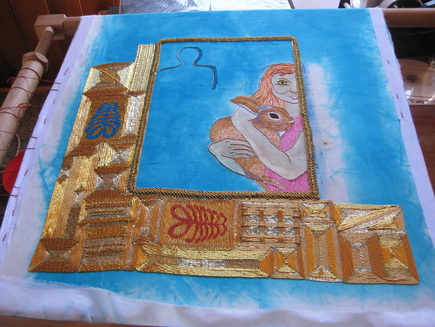
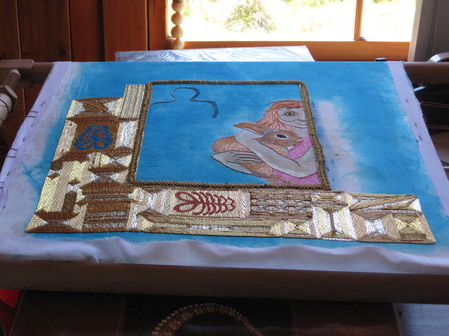
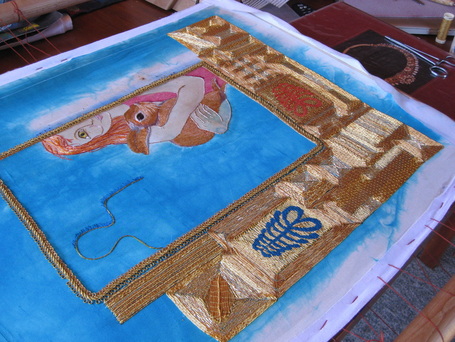
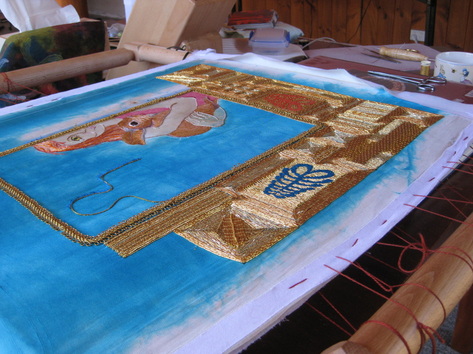
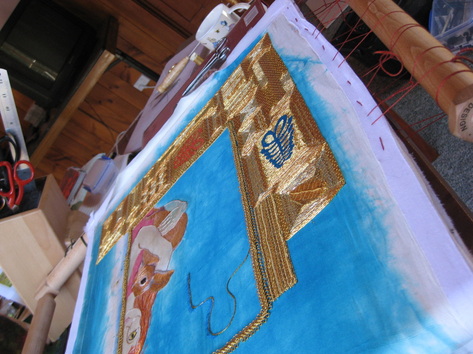
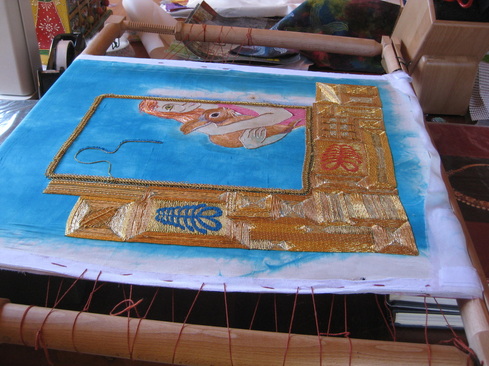
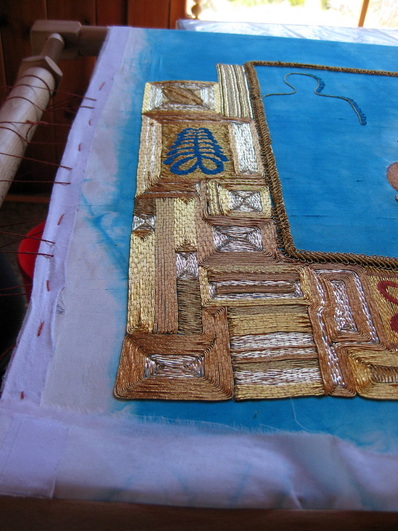
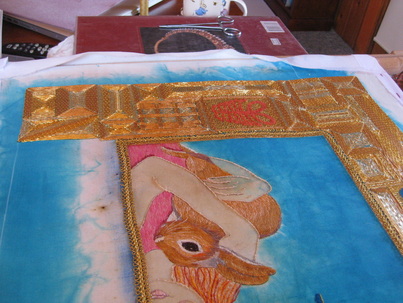
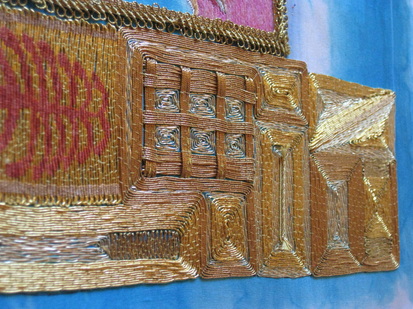
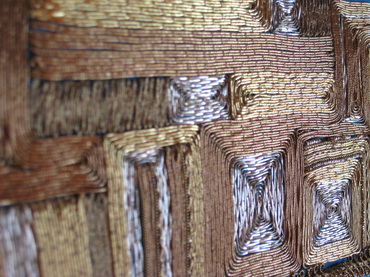
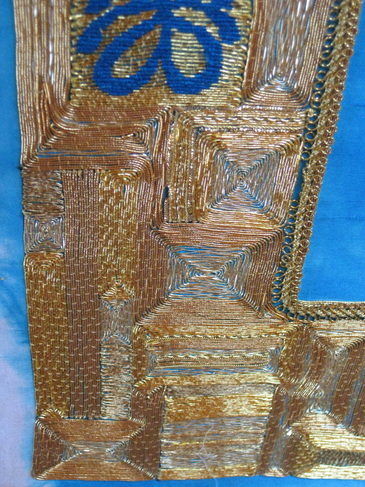
It's been a while since I posted an update on this work (you can read the previous post here). Progress has been intermittent. Truthfully, I find the gold work both tiring and a little boring after a while. It doesn't help that the area to be covered is so large! I have completed 2 sides of the gold work border. Each side is 10 cm wide and it is a large piece, so covering it all in gold work is quite a task. The photo above gives you an overview thus far. Below I are a series of photographs showing the work from different angles to give you an idea of how the light affects the appearance of the gold work. The angle at which the work is viewed changes the direction of the light and brings out different patterns within the work. This shot shows off the different colours of gold within the piece. My gold work technique is ever improving, particularly with regard to placement of the couching stitches. So, that's where I'm at. What do you think?
4 Comments
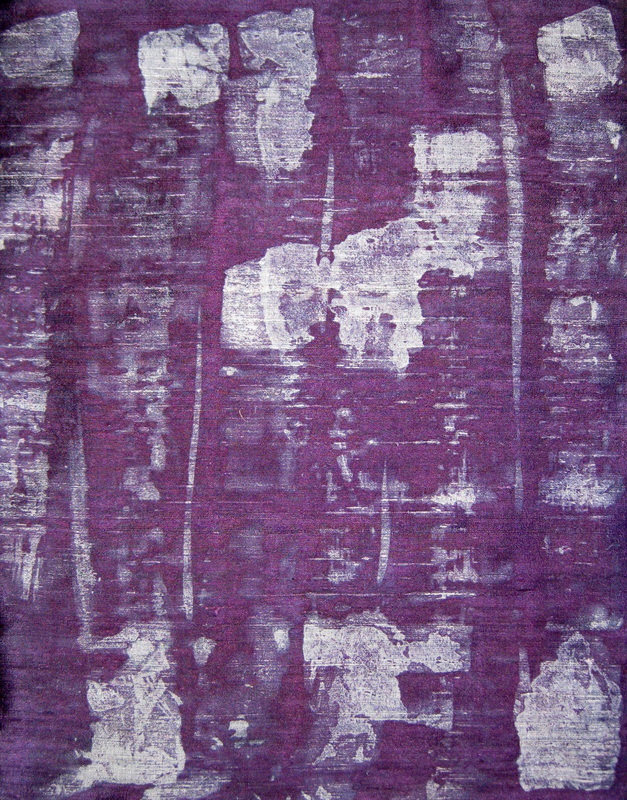
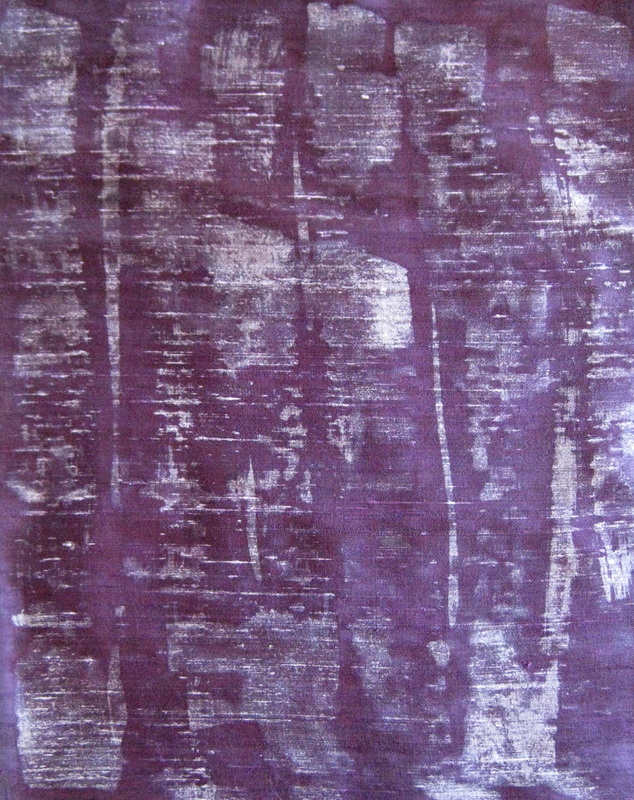
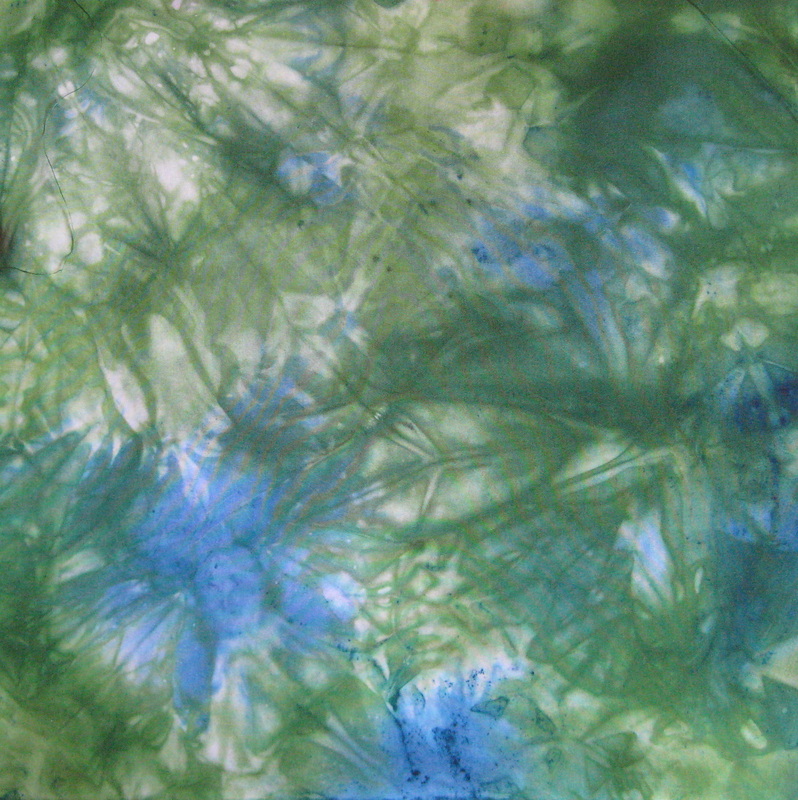
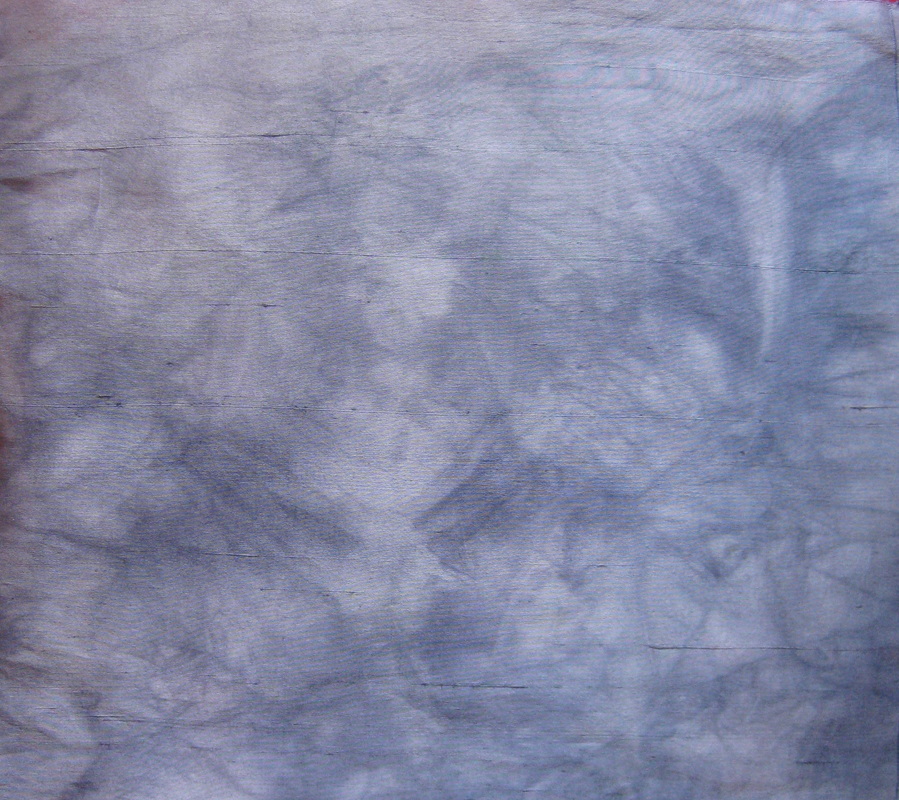
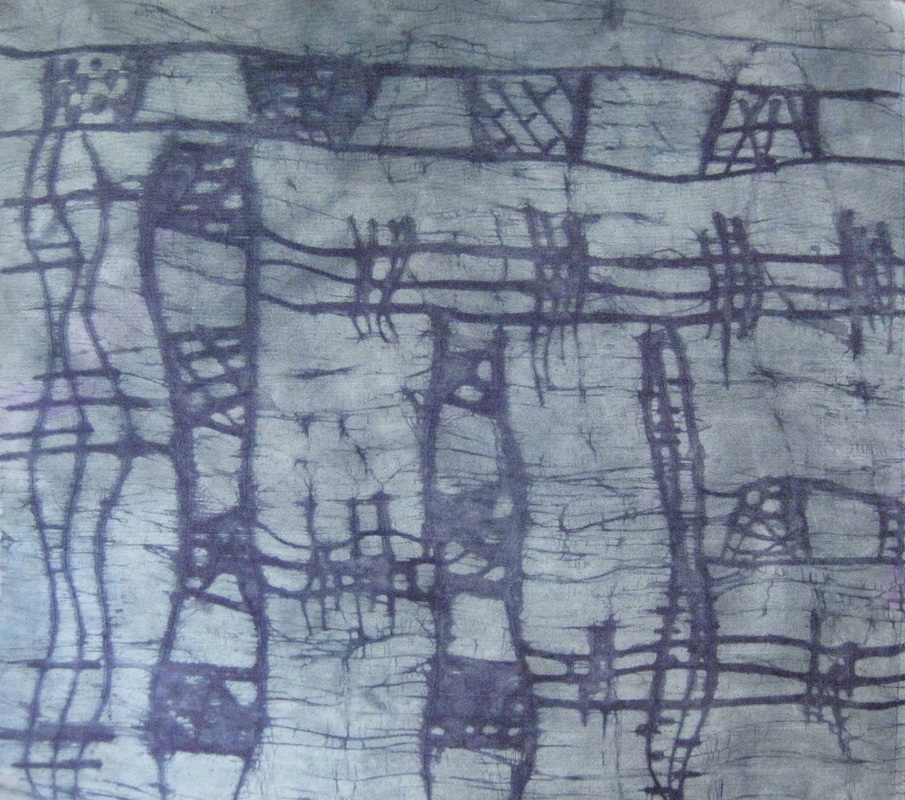
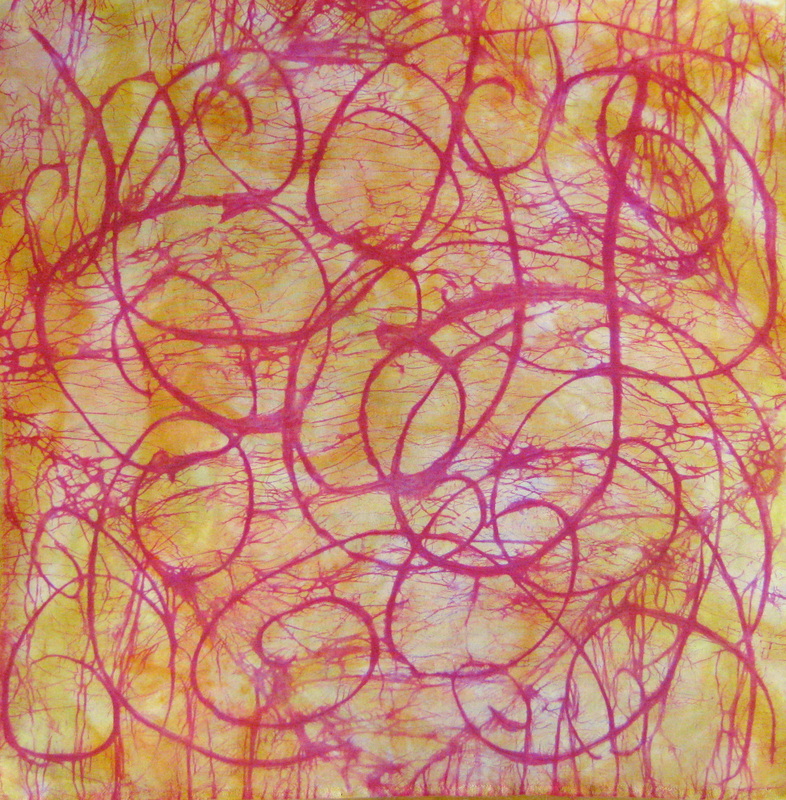
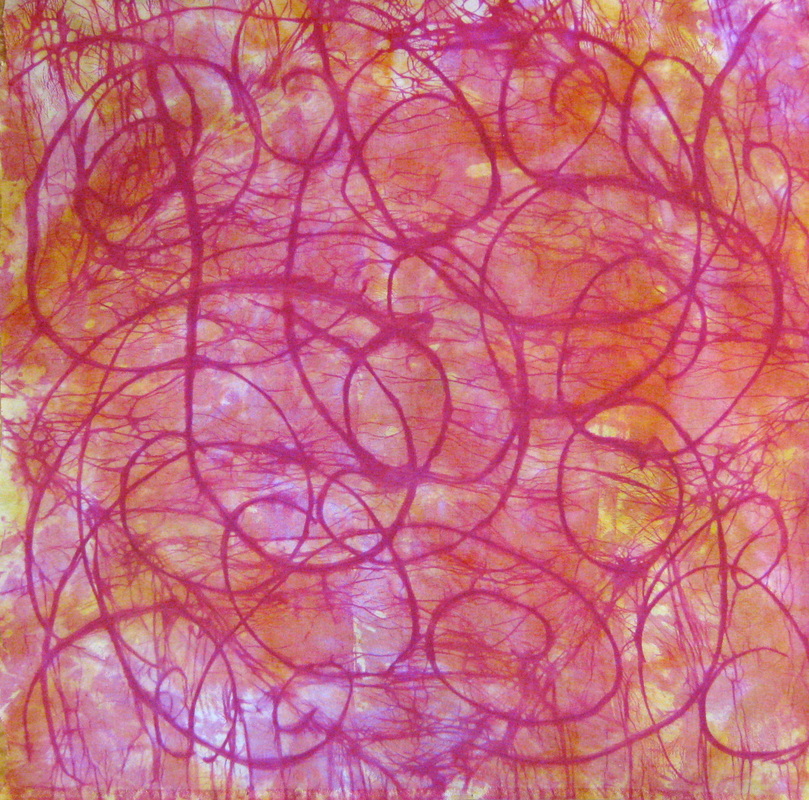
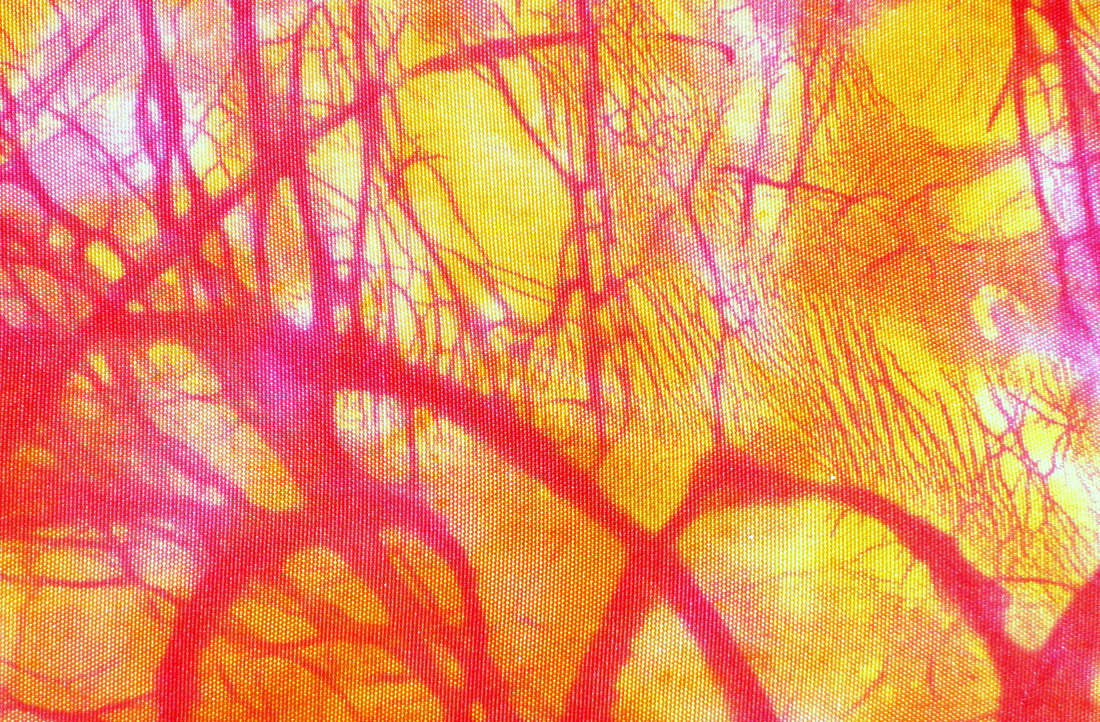
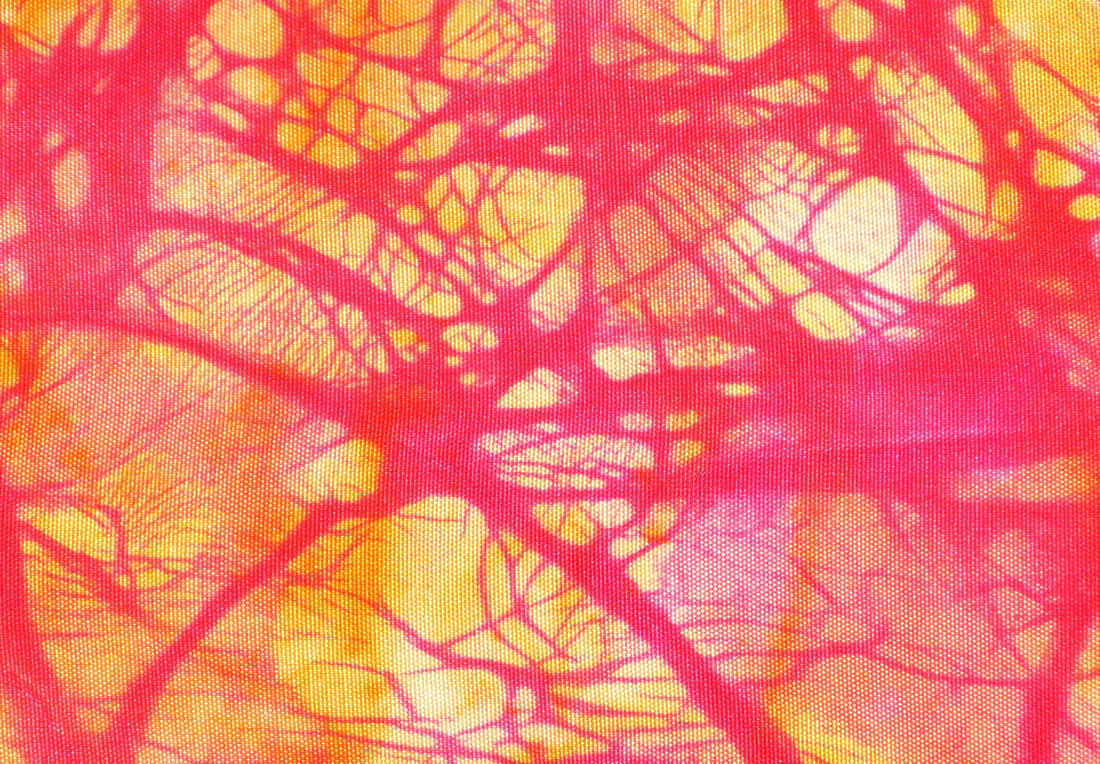
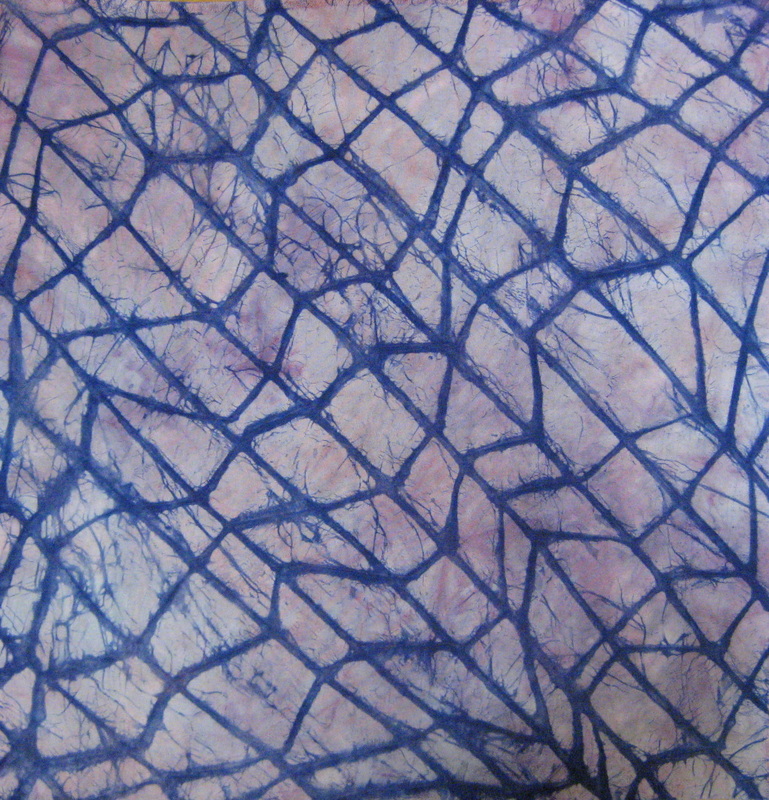
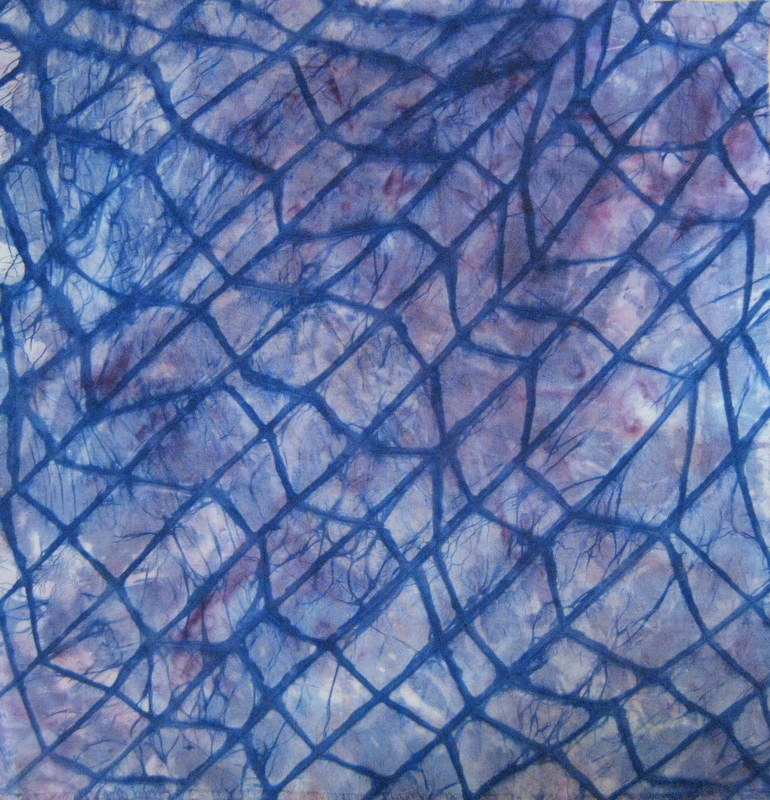
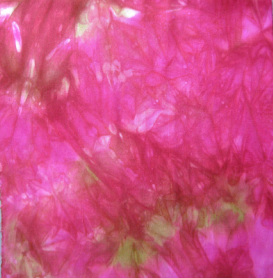
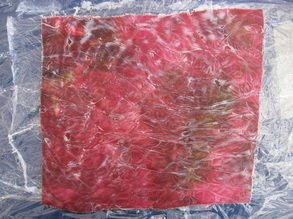
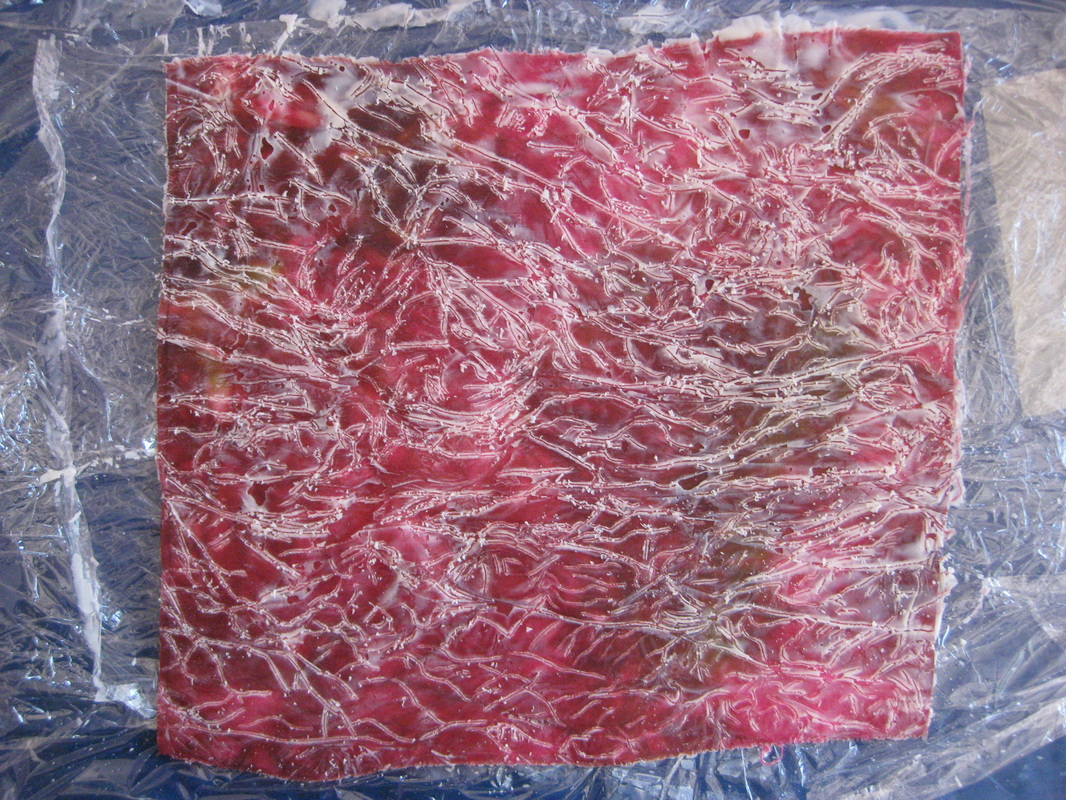
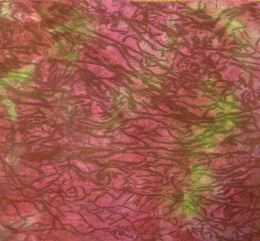
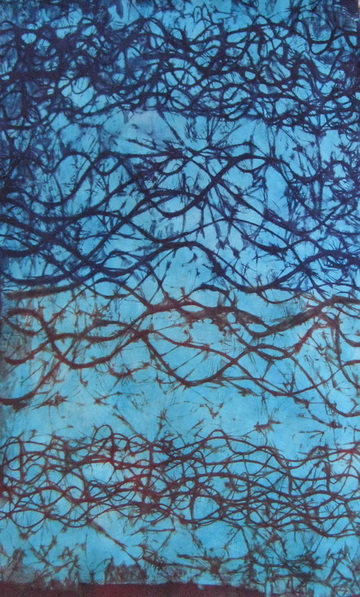
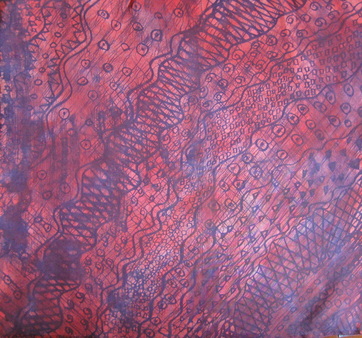
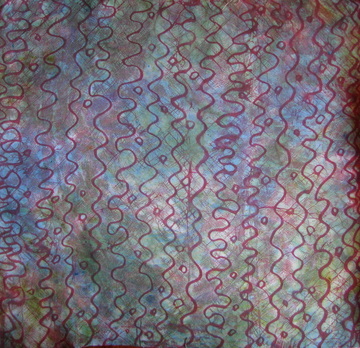
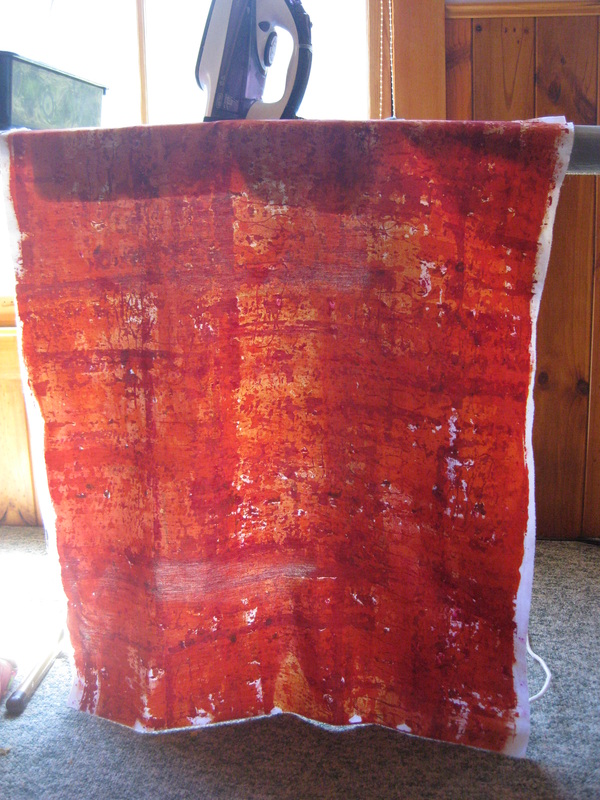
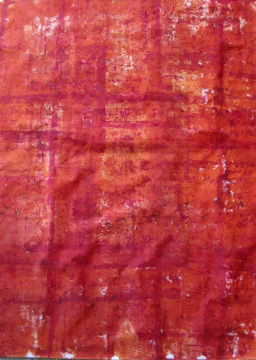
After the Tony Dyer workshop (see previous post here), there were a lot of techniques that I was keen to experiment with. One of those techniques was one he didn't even demonstrate, but described while showing some images of his work. The technique was a kind of reverse batik where wax is painted onto the fabric and then etched into and over dyed. I had experimented with batik, but was not getting the types of results I wanted and this etching technique sounded like it might be the trick. A couple of weeks ago my friend Carolyn came and spent a few days in my studio and together we embarked on an experimentation adventure. This piece is a gorgeous silver indian dupioni fabric that is really textured and slubby. I painted the wax on with a wide brush and then over dyed it. Both sides are interesting, although because of the highly textured surface of the fabric the fine brush lines created as the wax on the brush was spent do not show up very well. On the left is a piece of 19mm habotai under dyed with landscapes dyes. On the right: after etching and over dyeing with procion mx. This is a fine, chinese dupioni (much less textured and slubby than the first piece). I had problems with the wax cracking as I etched it on this piece. I think I will try heating the etching tool when I want really fine defined lines. I love how this one worked out. It is under dyed with yellow and orange landscapes dyes, etched and over dyed with procion mx red 8B. You can see that much more of the red dye works its way through the wax on one side than the other, I have no idea which side, though. After etching I crumpled the fabric so as to get some crazing patterns. These close ups show it off really nicely. These photos show the process. Left: fabric under dyed, Right: Fabric waxed and turned over so that the marks created by the cling wrap underneath are on top. Left: after etching over the cling wrap marks; Right: after over dyeing with procion olive dye. In this one I have over dyed with 2 different colours, one on each half of the fabric. I love this piece and it will be the basis of an art work coming soon. Here's a couple of Carolyn's experiments with wax etching..... Carolyn also experimented with break down printing with fabulous results.
|
This blog was previously at another site. To view older blog posts please click here.
AuthorI am a hand embroidery artist living and working in the rugged and wild Central HIghlands of Tasmania. Archives
October 2014
Categories
All
|

 RSS Feed