|
I have made a start on the second work in my current series (for which I still don't have a name, but I'm thinking!). For this work I have decided to do a day by day summary of my progress. No, don't worry, there won't be a million posts about it as I will be grouping several days of progress at a time into each post. DAY 1: I did the sketch for this work some time ago, but I was not happy with the face. I had done about 6 versions and none of them seemed right. On Day 1 I redrew the face and partially coloured the sketch. 
A young girl holds her pet bunny, but again, Mr Shadow is lurking in the background. Compared to the previous work he is further away and less tangible. I'll talk more about why he's there when I'm close to finishing. I have used Koh-i-Noor watercolours and Progresso coloured pencils on medium tooth A3 200gsm paper. 
Next the image was transferred to the fabric (25 momie fine dupioni silk) using tracing paper and dress makers carbon paper. Usually I transfer the image after dyeing, however, because I needed to keep the blue off the girl, I needed to have everything in place beforehand. I ironed the transferred image to make it permanent before dyeing. I then traced around the outer edge of the girl and rabbit with a white crayon so that it would form a resist preventing the turquoise from spreading into the white area. For my purposes it worked well enough. The fabric was laid flat on a layer of cling film and the dye was painted on. (I use Landscapes dyes because they have a very low toxicity, are easy to use and dye silk beautifully.) The fabric was then covered with another layer of cling film, carefully folded into four and microwaved for 45 seconds. The fabric was rinsed and ironed dry. I ironed a fusible light, open weave cotton fabric on the back for extra support, which will be important to support the heavy gold work later. I traced over some of the lines with a black pen to make them more visible. To make the skin look more realistic, I painted on some contours using a Shiva pearlescent oil stick that was then ironed to make it permanent. The fabric was stretched on the frame. END DAY 1 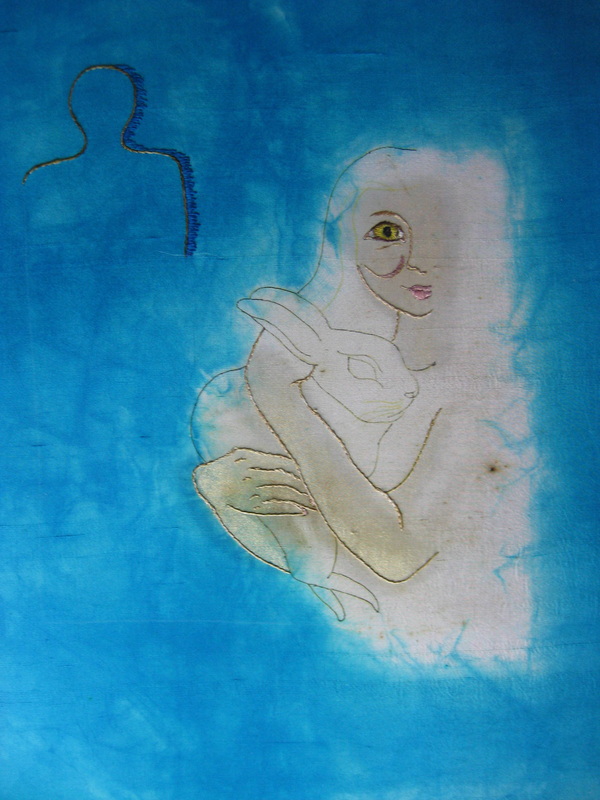
DAY 2: Normally I would spend a full day dyeing threads for a particular project, but in this case I was lucky enough to have all I needed already in my stash, so I could get straight into stitching. The photo above shows my progress on Day 2. Shadow man is finished and I outlined the arms and finished the face 
Here's a close up of the face. I always intended for the face to be defined in outline only, but with the eyes and lips worked fully to draw the focus of attention. I have used 5 different thread types of varying thicknesses. 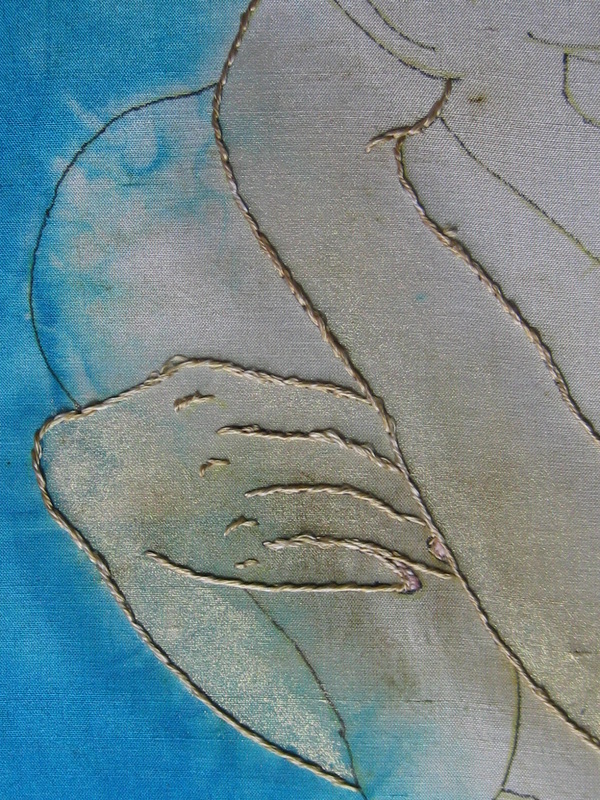
All the outlining is done in stem stitch. I've never drawn hands and arms before and I must say I found it challenging. In this photo you can see the pearlescent oil paint providing some contouring of the arms. END DAY 2 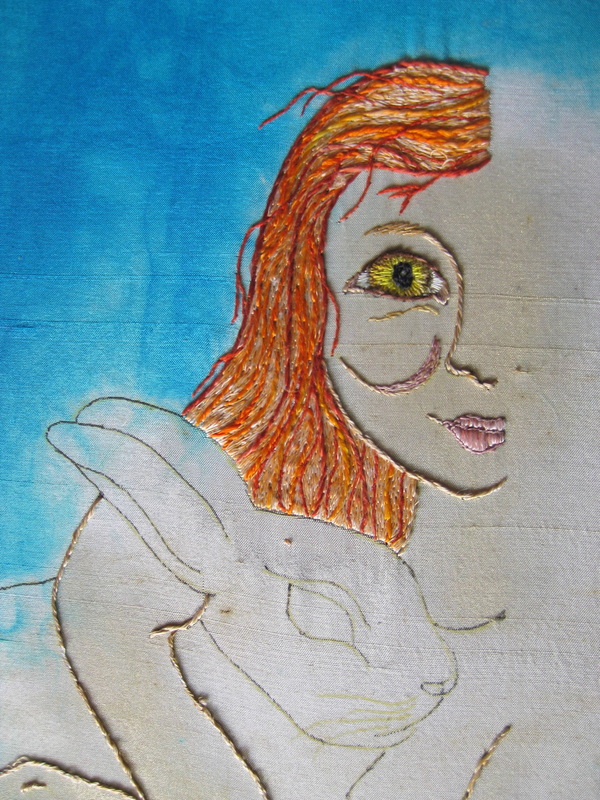
DAYS 3 and 4: It took all of Day 3 to stitch the darker lines of the hair and fill a little in between. On Day 4 I finished off the hair and made a start on the rabbit. 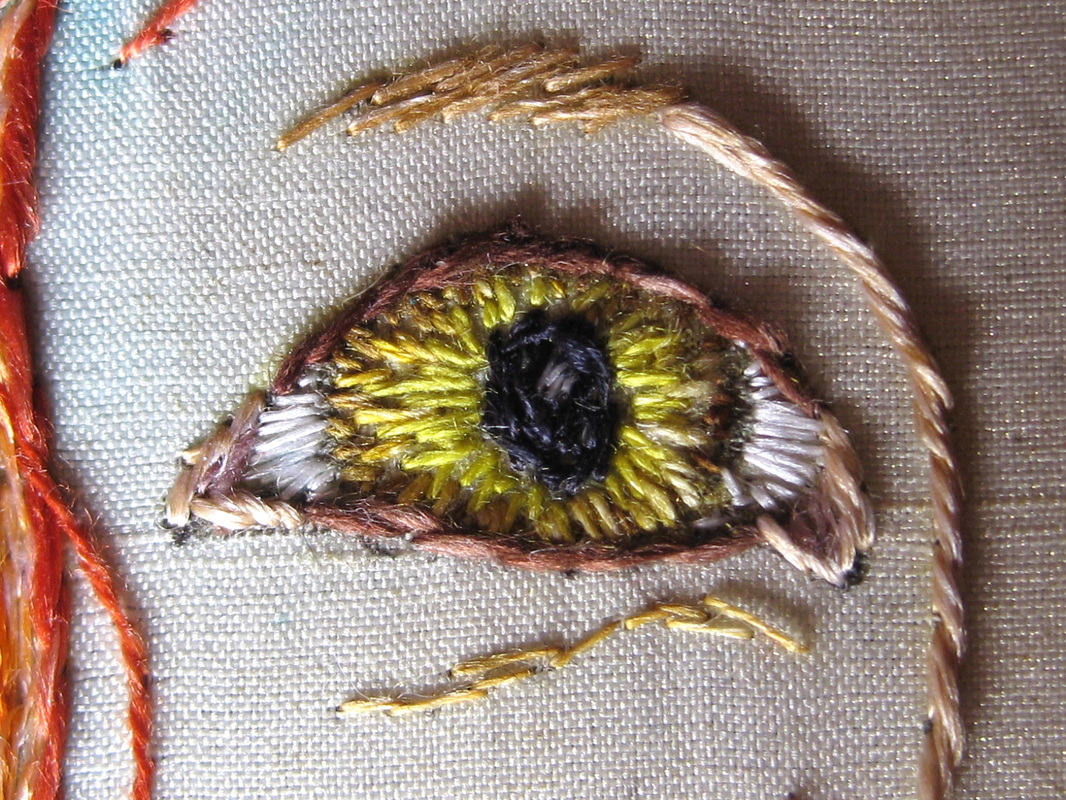
Here's a close up of the eye (if you click on the image you will get a much larger photo). Four different green threads were used for the iris. 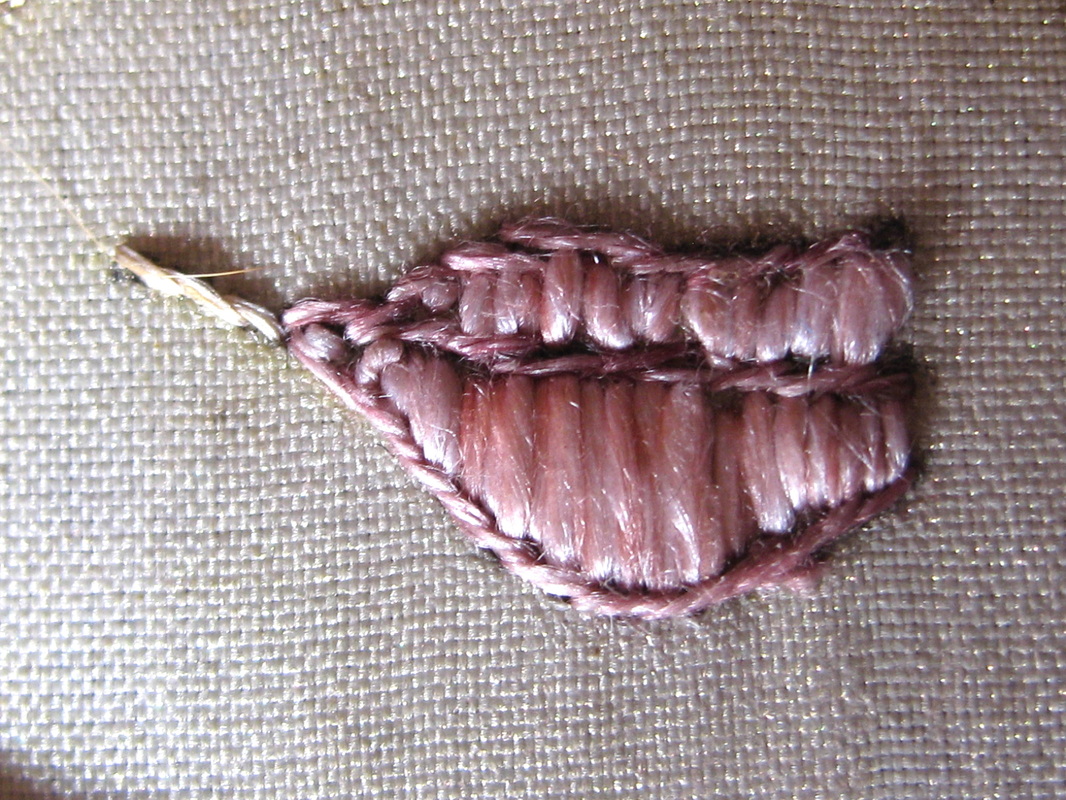
The lips in close up. I have used a darker pink, thinner thread for the outlines with a thick filature silk for the filling. 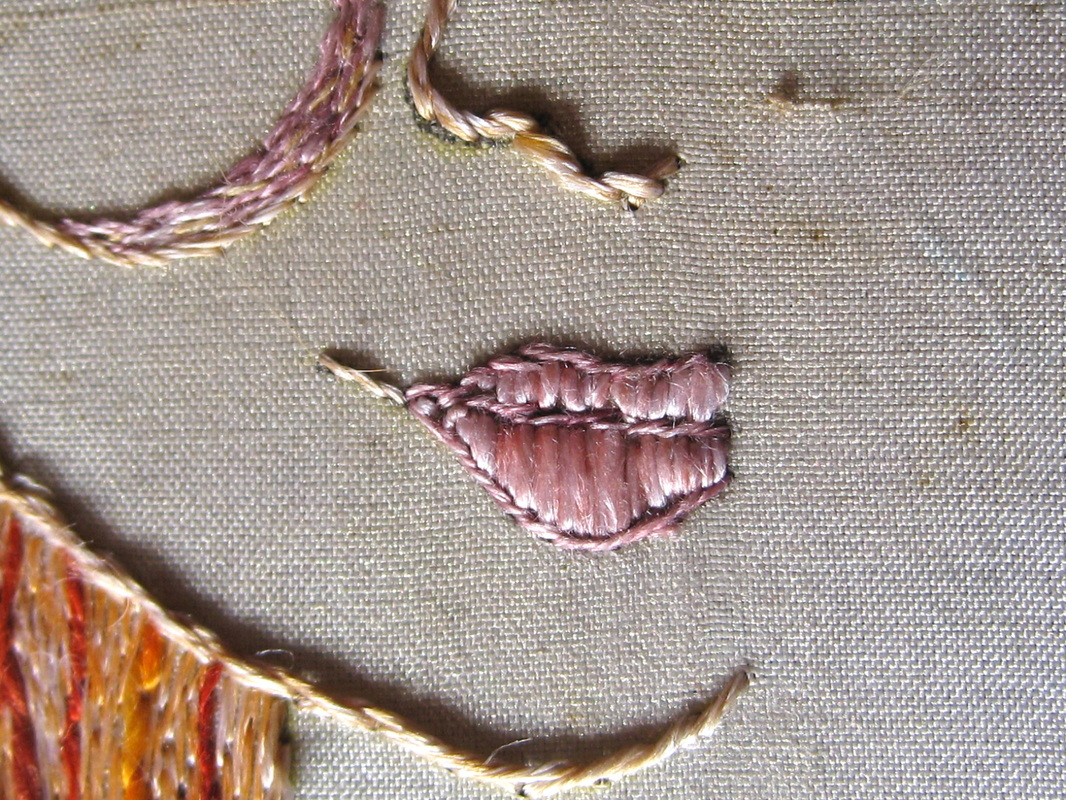
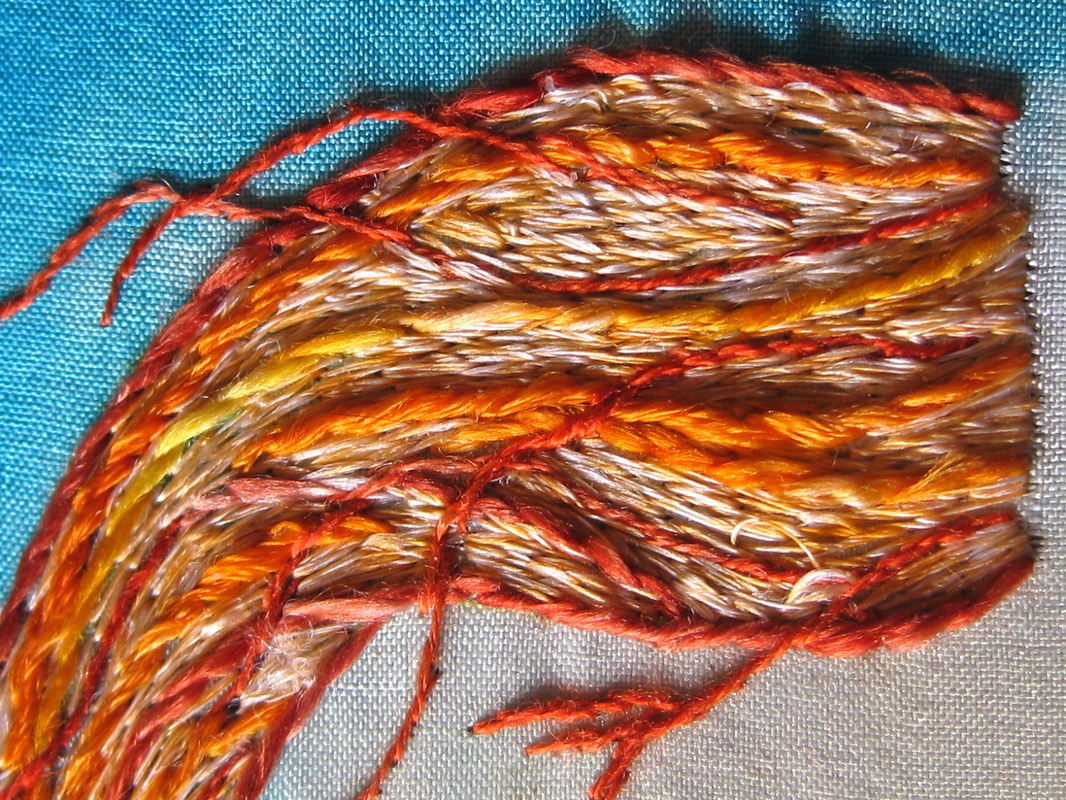
It was a challenge to stitch the hair so that it had the movement and texture of real hair without being a literal representation, which, to my mind, would be far less interesting and dynamic. Little wisps of flyaway hair give an air of informality. 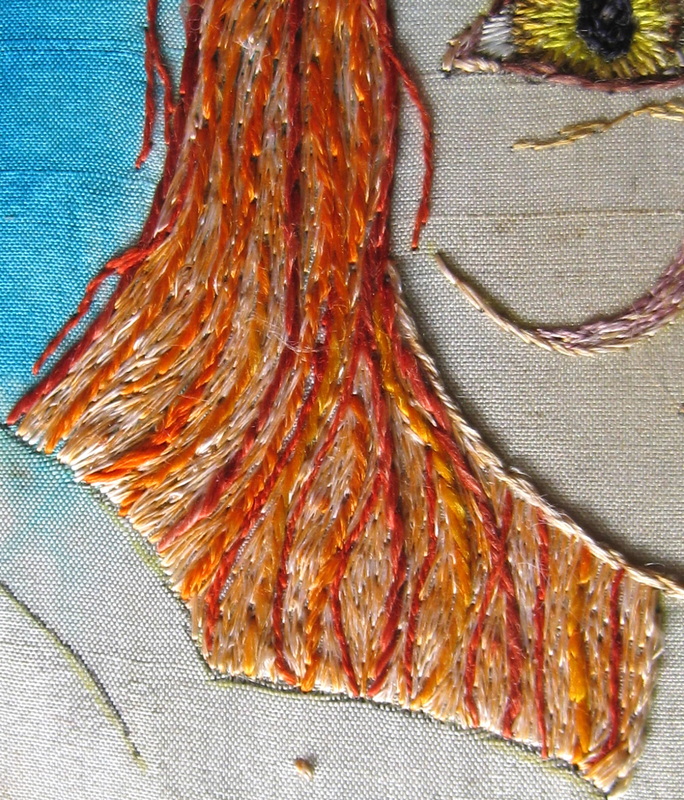
The hair frames the face and the colour plays off dramatically against the green of the eye. 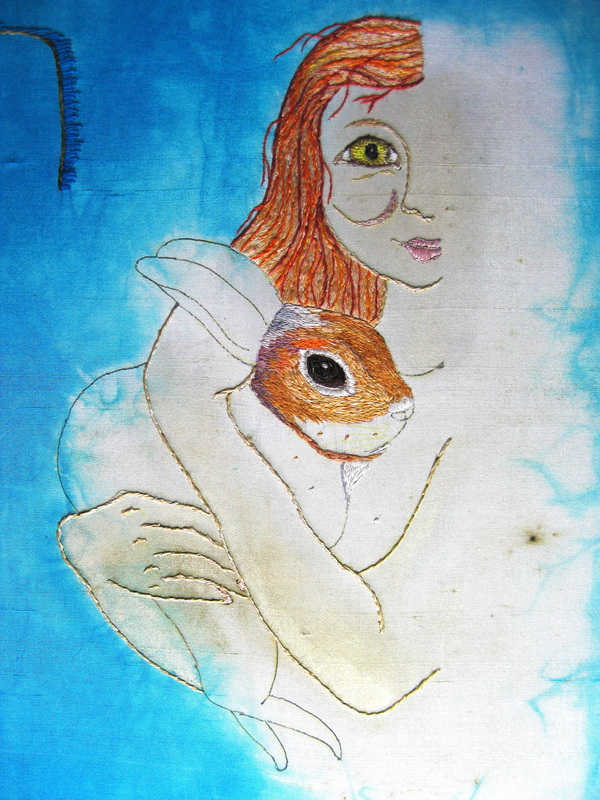
This is as far as I got with bunny. At this stage he looks as though he is wearing a strange sort of mask, but fear not, all will be well when it is complete. It's been a while since I used my needle painting skills and I had quite a bit of fun stitching his face. 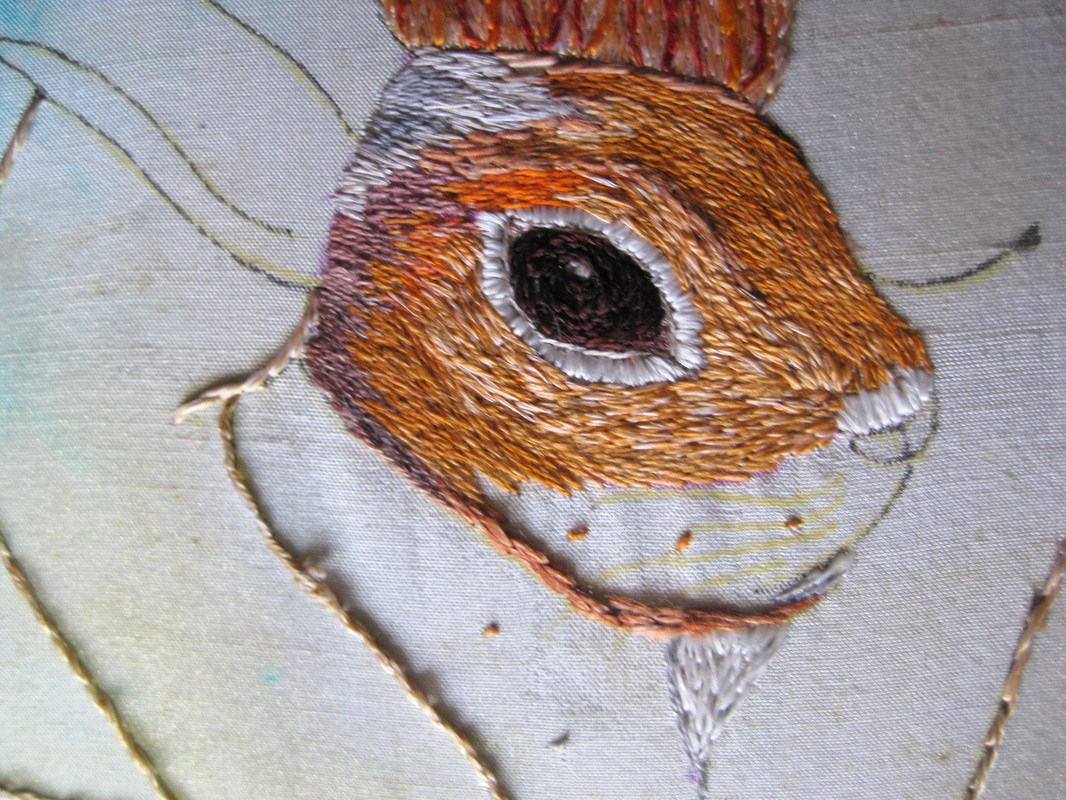
I started with the eye, stitching it in 2 browns using stem stitch starting around the circumference and working my way inwards. I then outlined the eye with a smokey grey line from which radiates the white thread around the eye. Looking at the photo I think it was a mistake to work the white line this way. It will need to be pulled out and stitched so that the stitches run in a more naturally contoured fashion. There are six different colours on bunny's head used to highlight contours and reflection from the implied light source. 
It is interesting how in this extreme close up you can see that I have missed 2 stitches where the brown fur meets the white on his nose. These stitches are really tiny so it can be hard to tell when there are gaps left. I worked a bit of white on the front of the chest, but here it looks like he has a goatee. 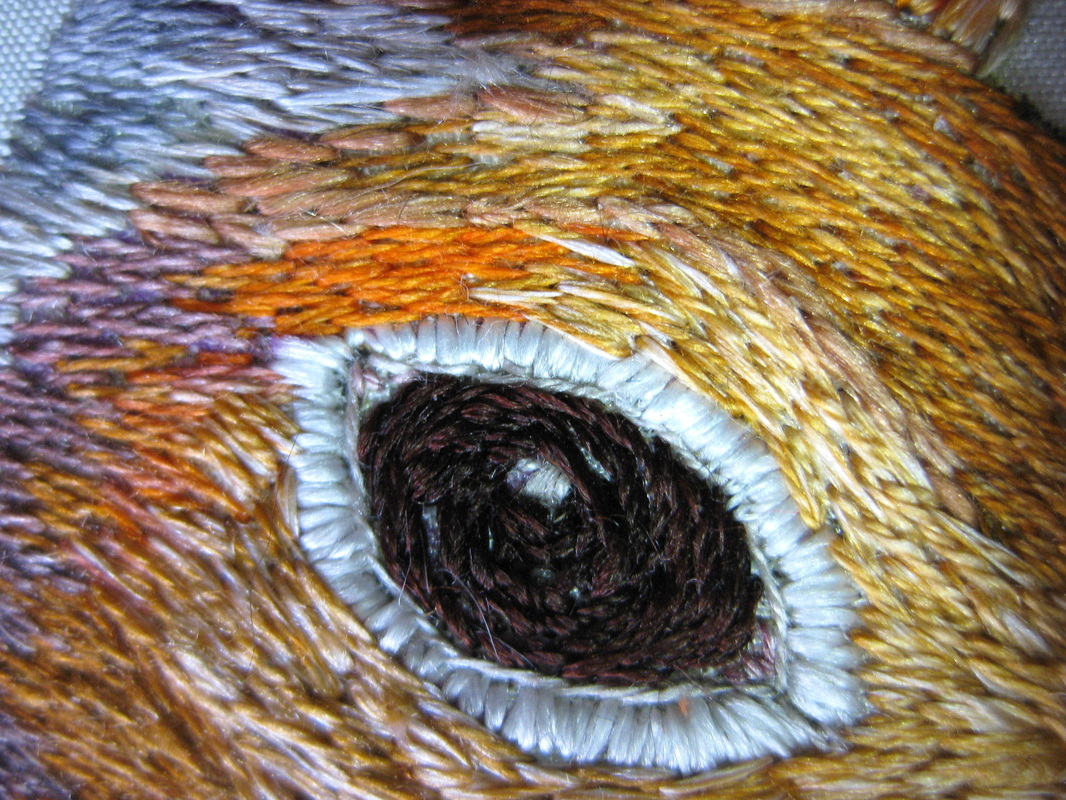
And finally, a close up of bunny's eye. You can see the circular working of the stem stitch on the eye and that the colour progressions make more sense when you don't have the "mask" effect caused by the unstitched portion. END DAY 4
So, that's it so far. About 30 hours of work. I'll post more as the work develops.
3 Comments
The first work in my new series is complete! I had a number of new works, some of which I have featured on my previous blog site, professionally photographed earlier this week. You'll see in the photos posted here that they are much sharper with detail much more visible than in the photos that I posted previously. 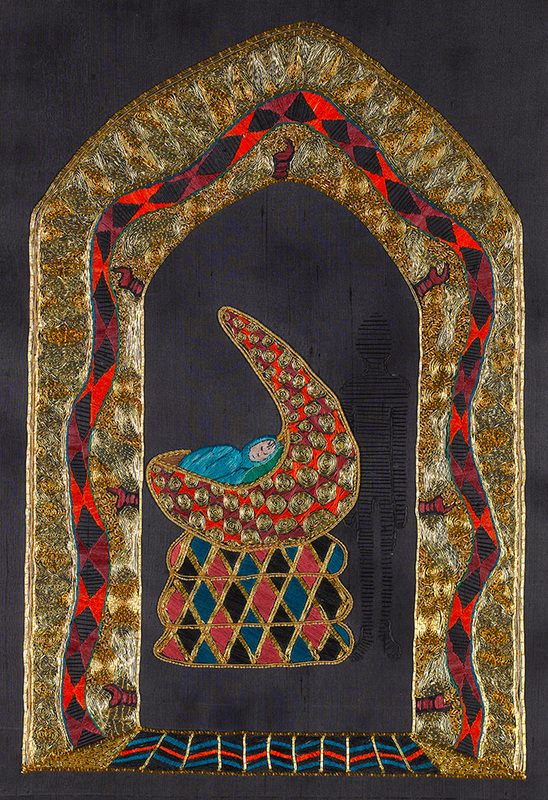
Here's how the whole work looks. The new photographs show the patterns and texture of the gold work beautifully. The colours, however, are not really true. the silk threads appear almost fluorescent in the photos, when in fact the colour is much less intense and cooler in tone. The reflectiveness of both the gold and the silk make it very difficult to get accurate colour. 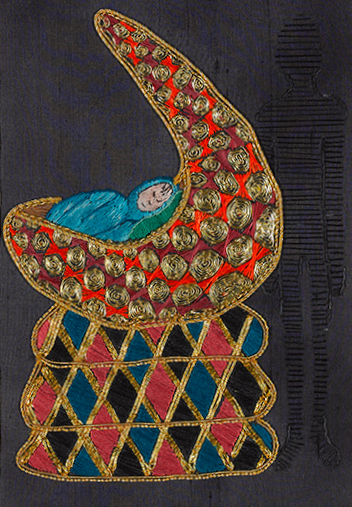
You will notice that the shape of the baby's cradle and the little pink symbols in the gold border are the same. This is the Adinkara symbol, Akoben. It represents vigilance and wariness. 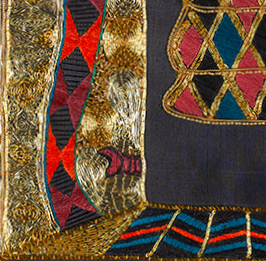
You can see the symbol in the gold border here..... 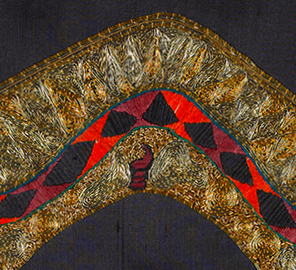
..and again here. 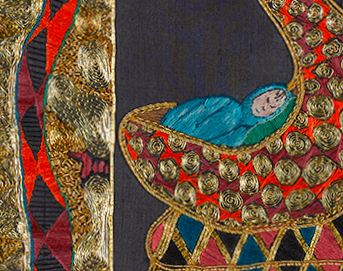
The shadowy figure represents the dangers, real and imagined, to which a young child is vulnerable. He is the bogey man of nightmares, the lurking stranger and the harmful relative. He is there and he is not there and so the question begs, who watches the child?
This cute little creature is my new studio mascot. Her name is "Sunday", named after a sweet cat I knew all too briefly. Her smiling face and joyful eyes bring me cheer every time I look at her. To the right of Sunday are my UFO pens. The orange one is a flying saucer and the pink one a classic "alien". They are on a ratchet and when you spin them they are filled with a strobing light. Best $4 I ever spent! Don't forget that if you want to see larger images in any of my blog posts you only need to click on the image. 
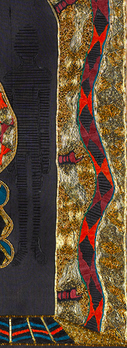
This is the second in a series of posts about my history as an embroiderer. You can read the first post here. My third embroidery was the skirt pictured below. It is a full circle mid thigh skirt with side pockets and an elasticised waist and is made from rami. The daffodil motif is embroidered in DMC Perle cotton (not sure if no. 5 or no. 8 - whichever is the thinner one, that's what I used). The threads were a gift from my mother who was given a huge pile of threads. She is not an embroiderer and so passed them on to me. 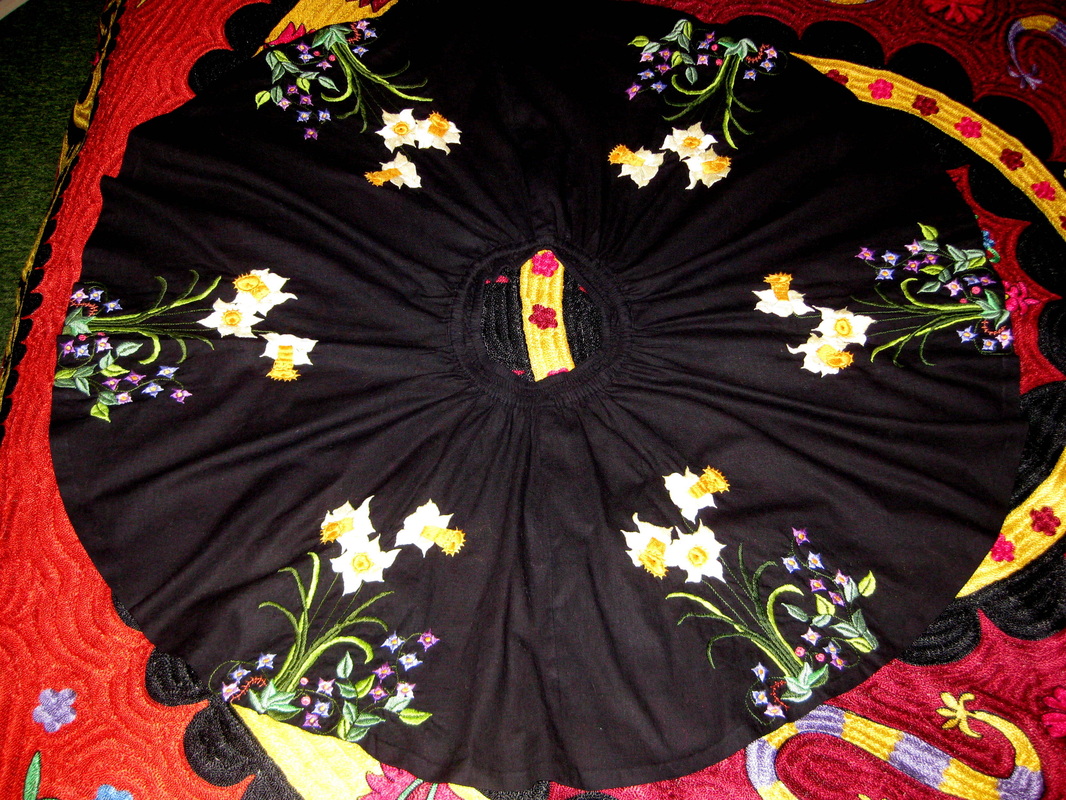
Here you see the skirt laid out flat. There are 6 repeats of the daffodil motif distributed evenly around the circle. 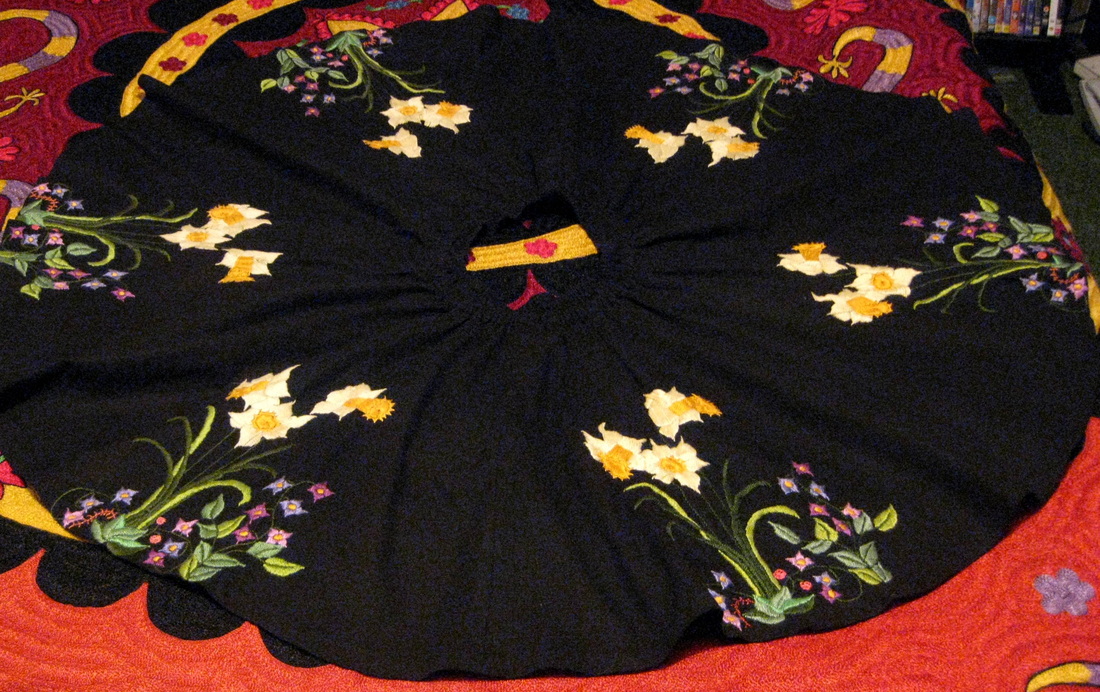
The design (as with all my embroideries) is my own It is worked entirely in stem stitch and satin stitch. 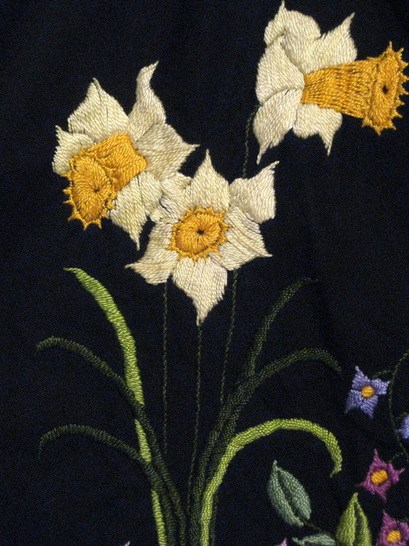
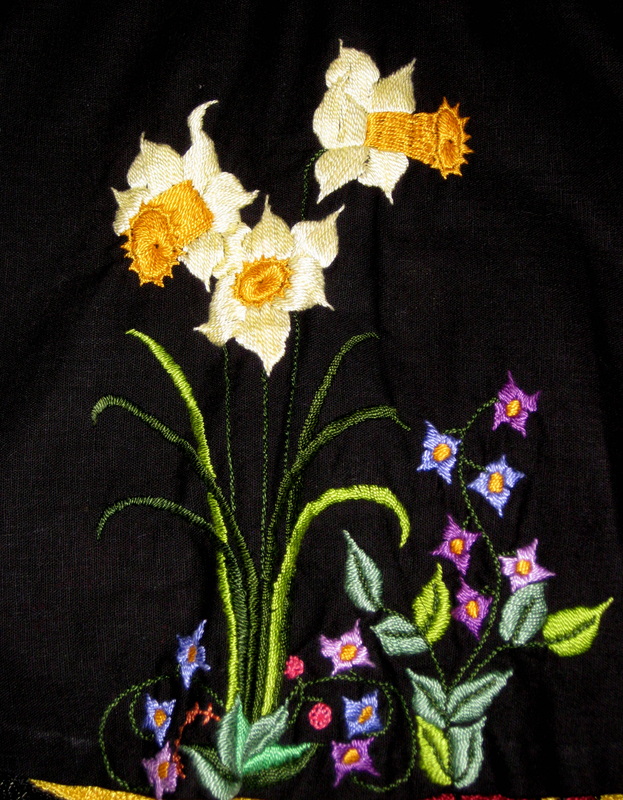
In the closer views of the daffodils you can see that the petals are probably a bit too large to work in satin stitch on an item intended to be work and so there is some slight sagging of some of the longer stitches. 
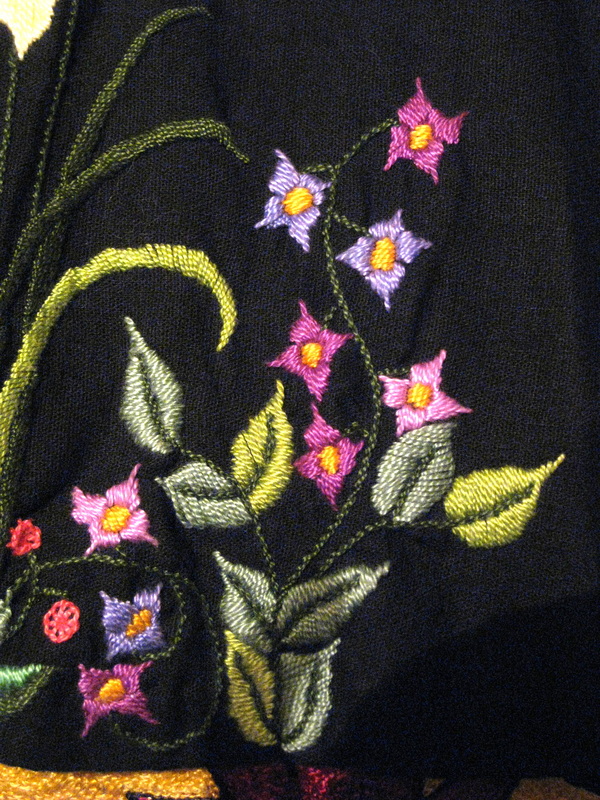
I love the combination of the 3 greens and those little circular warm pink flowers (worked in button hole stitch in the round) really enliven the cool pinks and mauves of the flowers around them. 
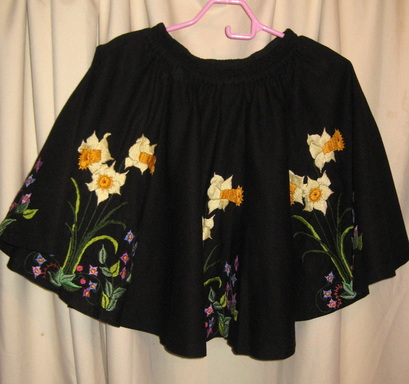
This is how the skirt hung when worn. I was in my mid 20s when I made this skirt and I think the design speaks to youthful optimism. I loved wearing it, although I wore it infrequently as I didn't want the embroidery to wear. I always got admiring comments whenever I wore it. It is still in as good condition as it was when it was made and I will always treasure it.
|
This blog was previously at another site. To view older blog posts please click here.
AuthorI am a hand embroidery artist living and working in the rugged and wild Central HIghlands of Tasmania. Archives
October 2014
Categories
All
|
 RSS Feed