|
Yikes! It's been almost a month since my last update about this work. I've been very busy with all sorts of things which have taken me away from my studio. As a result progress on my latest work has been a bit slow, but there is still enough going on to show you. 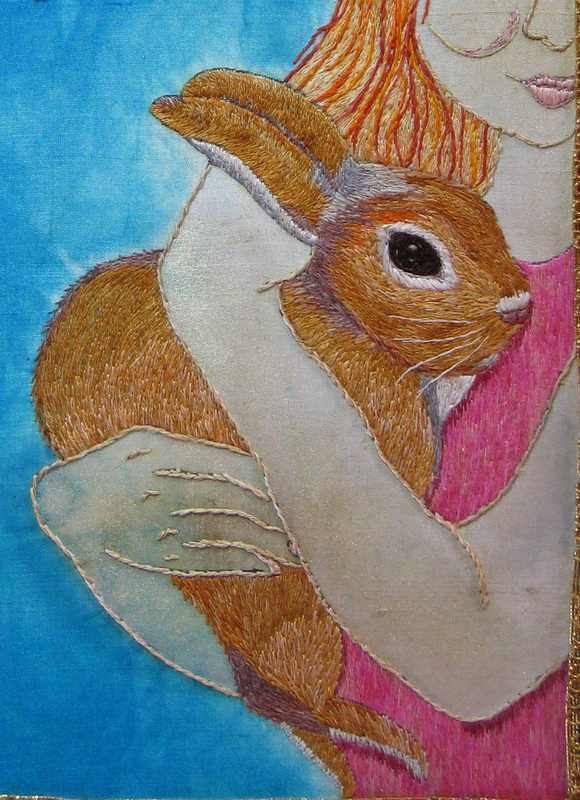
DAYS 5, 6 and 7 All of the main subject is complete. I pulled out the stitching around the rabbit's eye and reworked it in a more natural looking fashion. Bunny is finished and his front side is more defined as it contrasts with the girl's pink top. The pink of the top brings a dramatic focus to the girl figure and emphasises the almost negative space occupied by the Shadow Man. 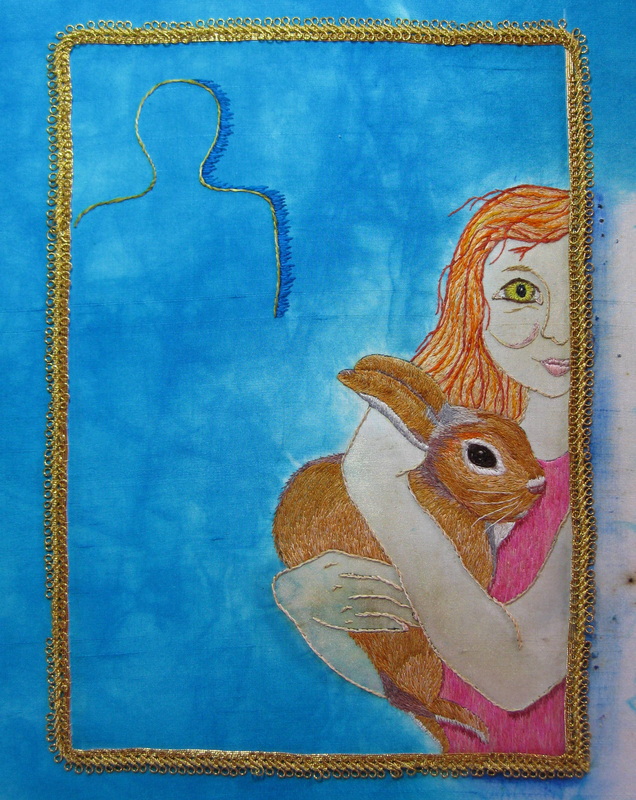
By the end of Day 7 I had added a central frame consisting of 2 rows of couched Japanese Gold thread with an overlying row of layer of antique French gold braid. Time taken to this point: 51.5 hours. 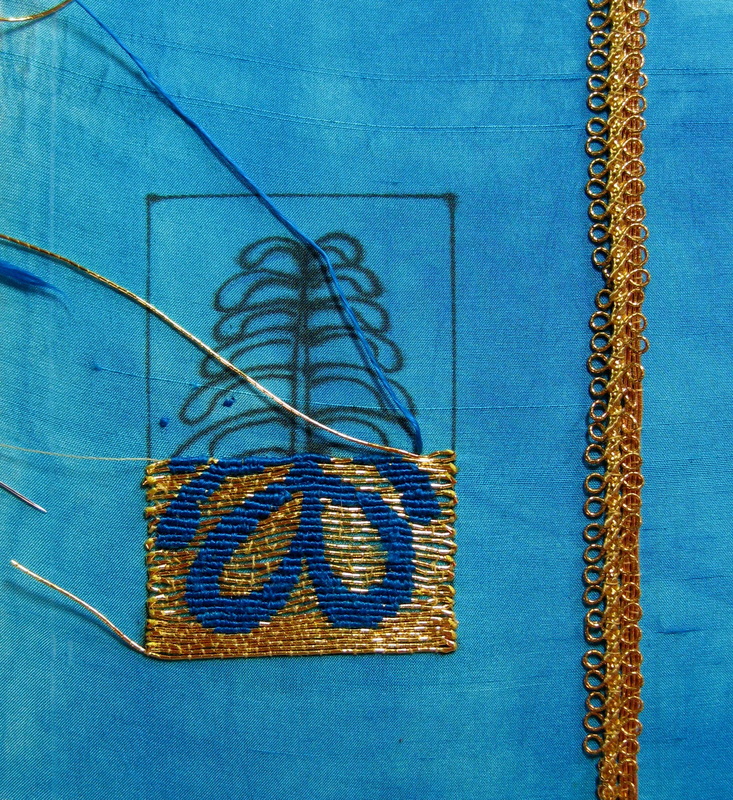
DAY 8: The central area will eventually be surrounded by a 10 cm wide frame of densely worked gold motifs contained within abutting squares and rectangles. It was incredibly difficult knowing where to start as I do not have a defined pattern in mind, but prefer to make design decisions as the work evolves. As with the previous work in this series, I wanted to incorporate an Adinkra symbol that spoke to the subject matter of the work. The fern, or AYA , is the symbol of endurance and resourcefulness. According to The Adinkra Dictionary by W Bruce Willis, "An individual who wears this symbol suggests that he has endured many adversities and outlasted much difficulty." (I will explain the significance of Aya in a future post). By the end of Day 8 I had completed about 1/3 of the Aya symbol. 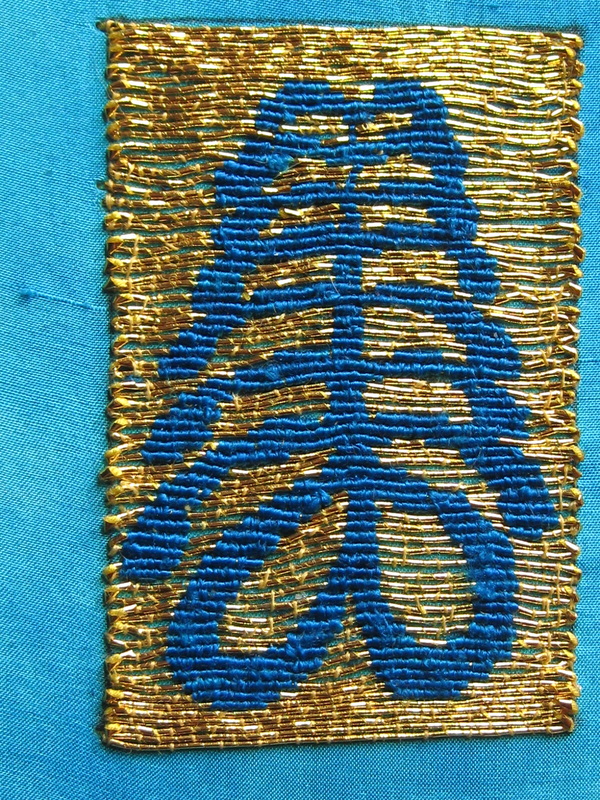
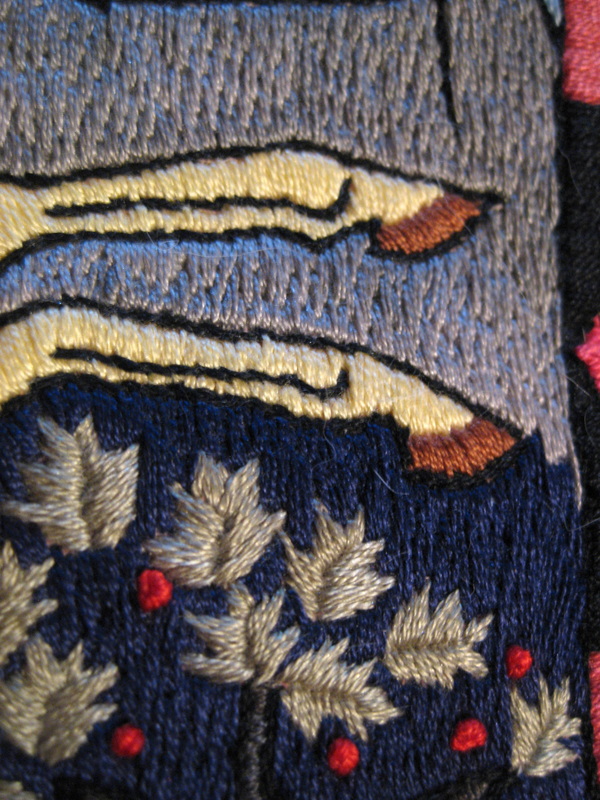
DAY 9: I have worked the Aya symbol in a technique called Or Nue (there should be an acute accent on the "e" but I am not sure how to do that). Or Nue is a technique whereby a motif is stitched over laid gold threads. I used a not too fine flat silk to stitch the fern. Because of the thicknesses of the gold thread relative to the silk and the small size of the design, I ran into some technical difficulties. Ideally, Or Nue should be couched over rows consisting of 2 gold threads. My problem was that if I stitched the motif this way I would lose the finely graduated curves of the fern and the motif would appear more stepped in its lines. I decided to stitch over one gold thread at a time, but as a result the spaces between the gold threads are larger than they should be so that the blue underlying fabric shows through. 
In this close up you can see where the blue peeks through. While goldwork afficionados would no doubt scoff in horror, it's not really a big deal to me as it looks fine to the naked eye. Once it is surrounded by goldwork I think it will be of little consequence. 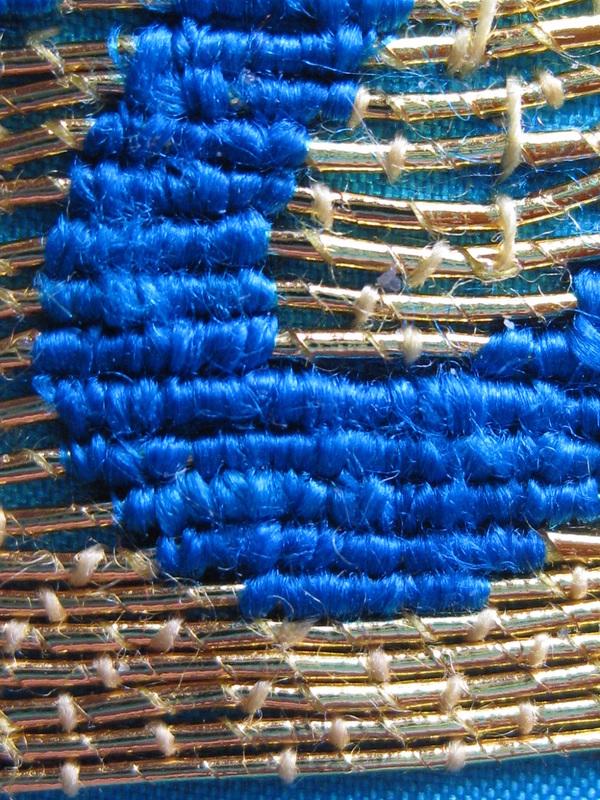
Here in super close up you can see the difference between the bottom gold threads where they lie closely abutted and where the Or Nue begins thus forcing the gold threads further apart. This shot also shows my less than wonderful placement of the gold couching stitches. The stitches should be perfectly spaced between each other in a "brick" pattern and should all be perfectly perpendicular to the gold thread. My stitches lie on varying angles and the brick pattern is not aligned or even. I'm trying to be a bit more precise in this sense, but find that I'm more concerned with the overal appearance and if I have to place a couching thread in a less than perfect position to make sure that the gold threads lie the way I want them to then so be it. Although I strive for technical excellence, I am fairly new to goldwork and am learning as I go. 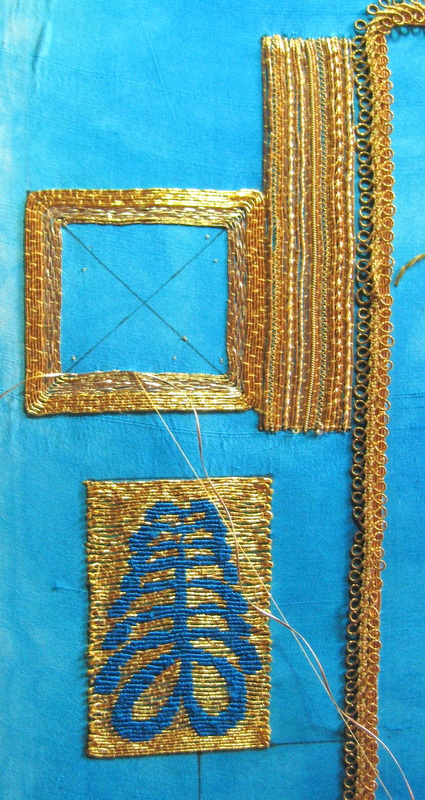
On DAY 10 I drew in the outline shapes for the larger rectangles/squares. The tall rectangle above the fern is worked in parallel lines of a variety of different types of gold thread. 
Some of the threads used include, flatworm, Grecian twist (thick and thin), Japanese Gold thread, milliary wire, pearl purl, rococco and large back. Here you get a good look at the antique French braid in the inner frame. 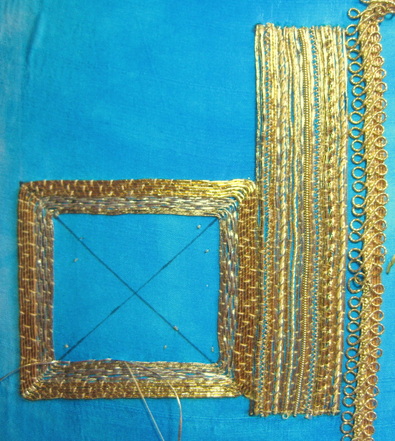
This photo gives a better idea as to the contrast in the different shades of gold. I'm just realising how labour intensive the goldwork border is going to be. Time to this point: 66.5 hours.
I'm thinking I may have to alternate working on this series by doing some less labour intensive works to increase my productivity and allow me to exercise a greater variety of ideas otherwise I seriously risk getting bogged down and disillusioned. Not that I'm not enjoying the goldwork, but variety is the spice of life.....
2 Comments
This is the third installment of the history of my progress as an embroiderer. You can the earlier posts here and here. This is my fourth embroidery. The concept for the design was mine, however at the time I did not have the confidence in my drawing skills to draw a unicorn and so the design was drawn by an artist friend. It was intended to be executed in the style of Medieval art and hence the flat perspective and broad areas of solid colour. 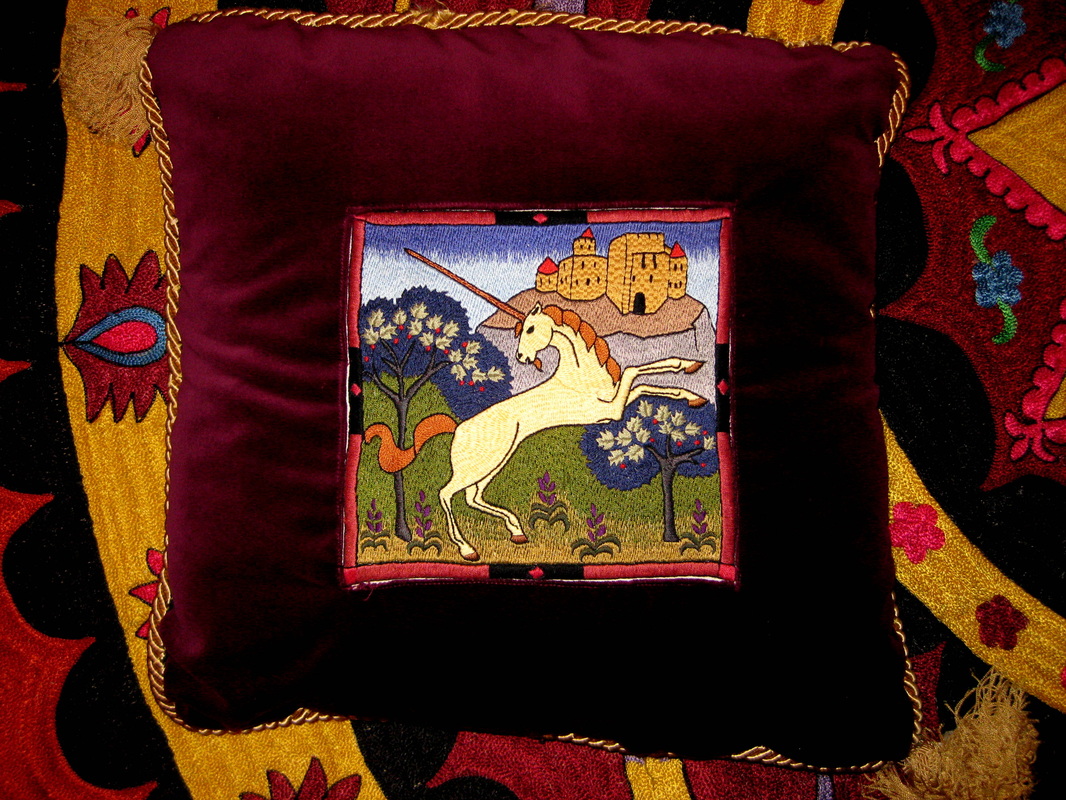
The embroidery forms the centre panel of a cotton velvet cushion bordered by commercial braid and embellished with two bought tassels placed on opposing corners. The braid is a little damaged along the top edge where my then pet rabbit, Merlin, having sneaked his way into the room where the cushion was, decided he would sit on it and eat the braid. That was more than 20 years ago. I've never bothered to change the braid and when I look at it it brings back fond memories of Merlin. 
Above you see the entire work. It is worked in two strands of DMC cotton floss. The ground fabric was an ordinary fine weave cotton fabric. The entire ground surface is covered, including a simple embroidered frame. At this stage I was still using an ordinary embroidery hoop, holding it in my hand and embroidering with one hand only. 
The castle is worked in, the appropriately named, brick stitch. The mane gets its movement from directional stem stitch used as a filling stitch. 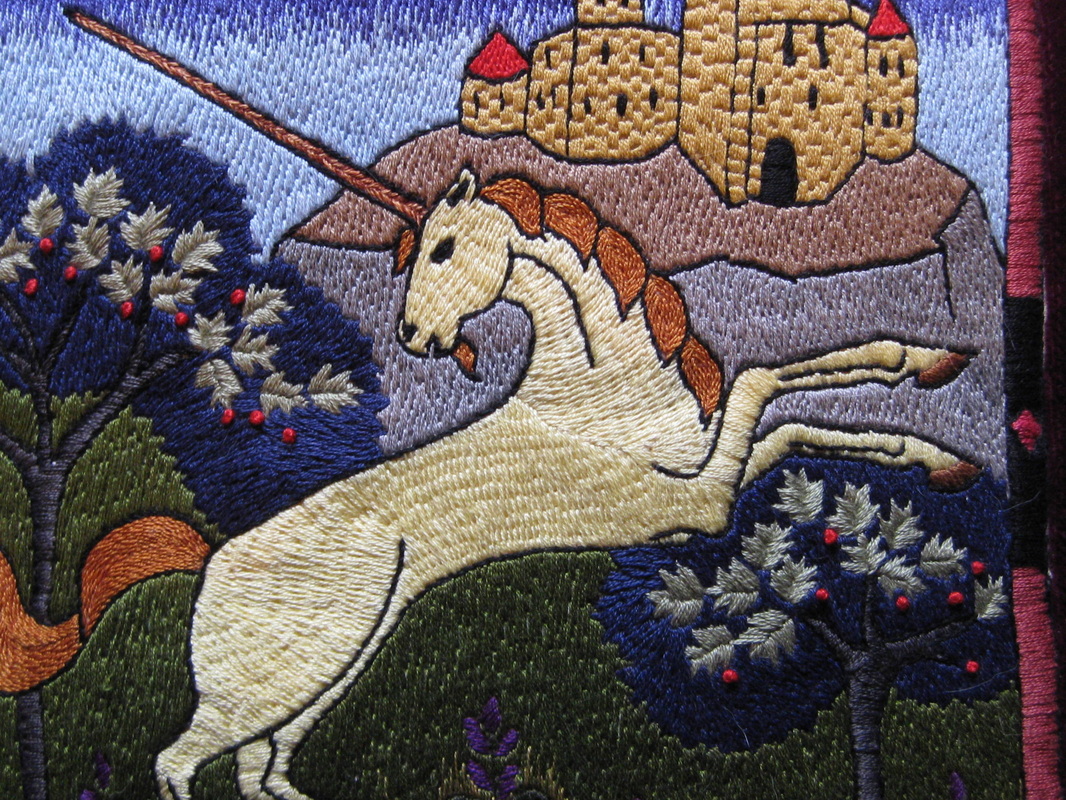
In keeping with the style of medieval art, almost all of the structures are defined by a black outline. 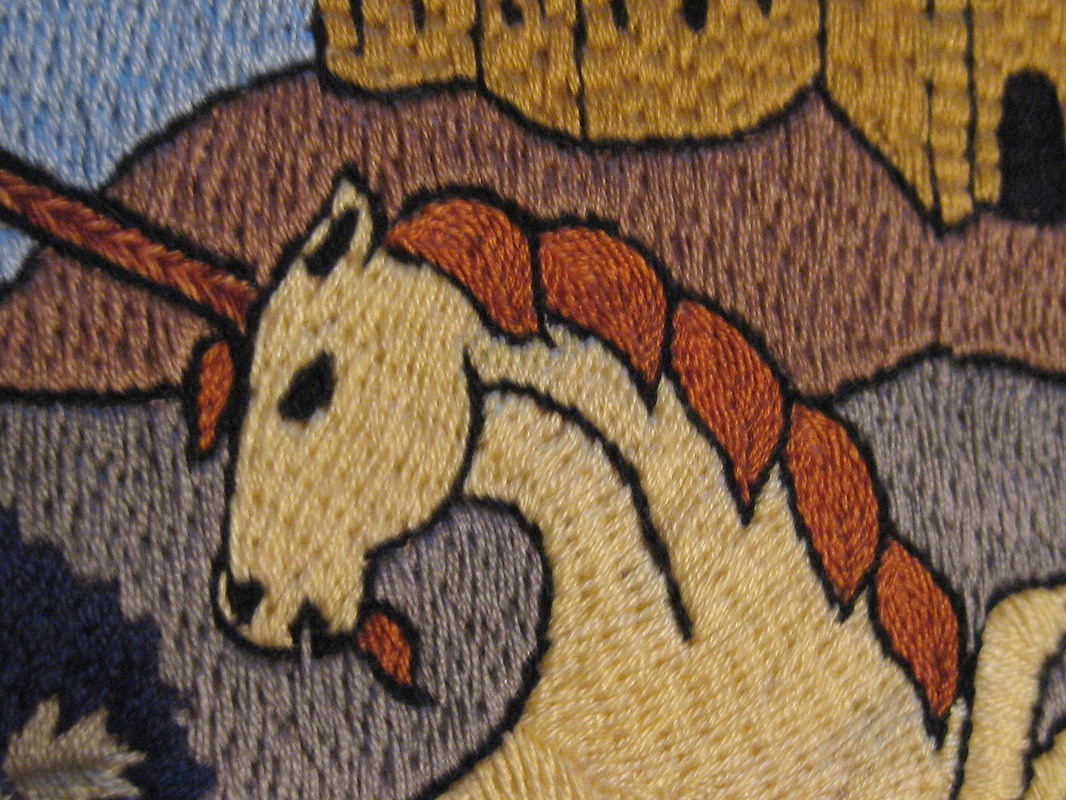
Unicorn's head in close up. (Apologies for the poor photo quality, but was the best I could get with my point and click camera). 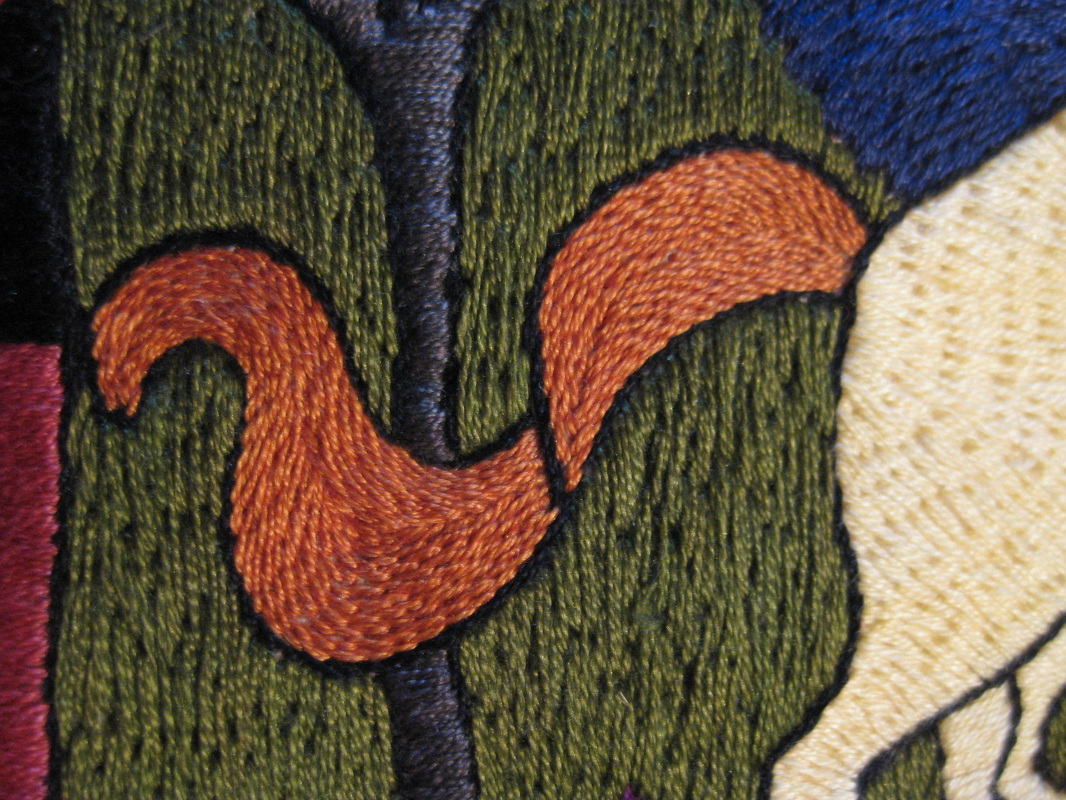
The stem stitch on the tail again gives the notion of movement and makes it distinct from the body of the unicorn. 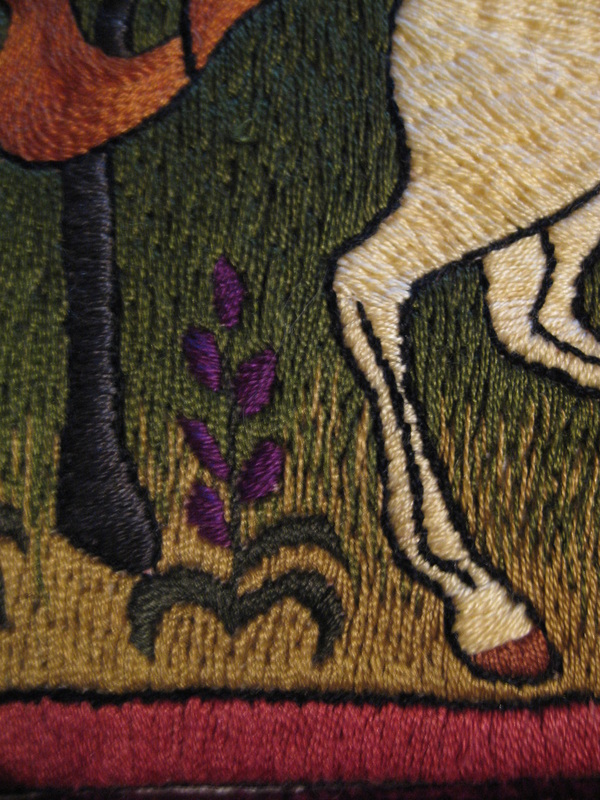
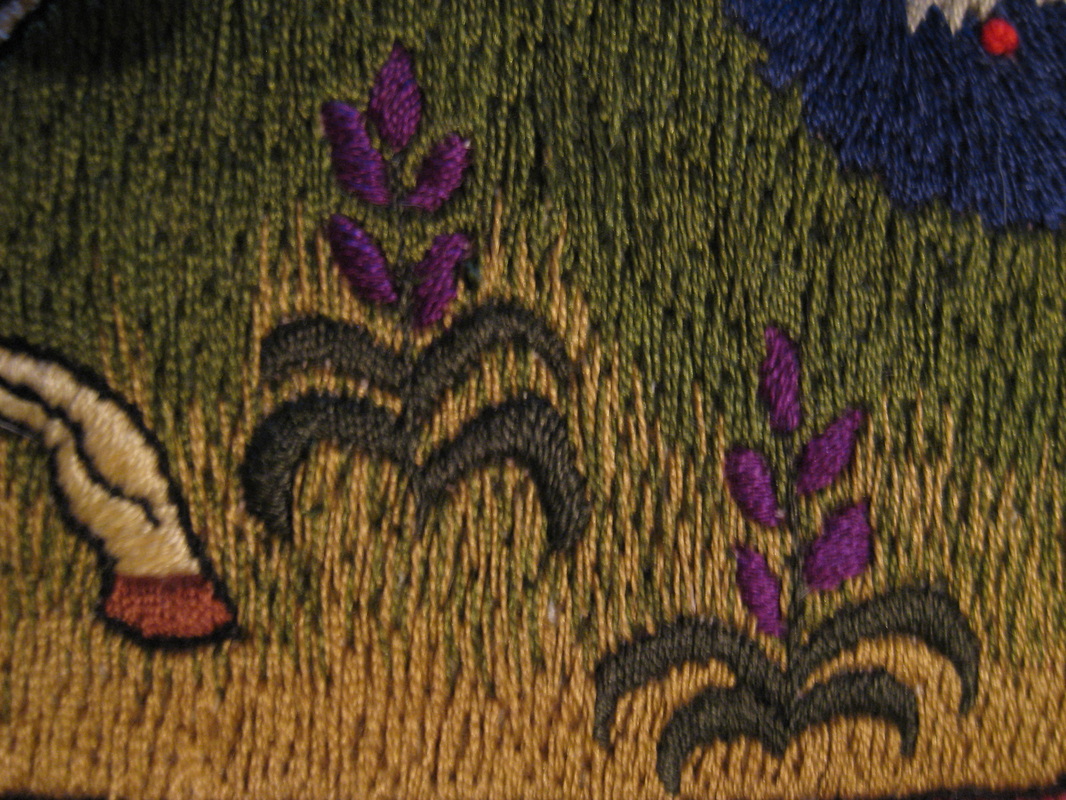
Small stylised flower motifs provide interest in the foreground.
This piece took me about two and a half months of stitching in my spare time and represents a big leap forward in my technical competence. I am so fond of this piece and the cushion looks marvellous sitting on the Uzbek embroidery on the bed in our spare room. |
This blog was previously at another site. To view older blog posts please click here.
AuthorI am a hand embroidery artist living and working in the rugged and wild Central HIghlands of Tasmania. Archives
October 2014
Categories
All
|
 RSS Feed