|
A few weeks ago I had the pleasure of participating in a "mark making on paper" workshop run by Caroline Amos on behalf of Stitching and Beyond members. Caroline's artworks are divine and she proved also to be a wonderful teacher. 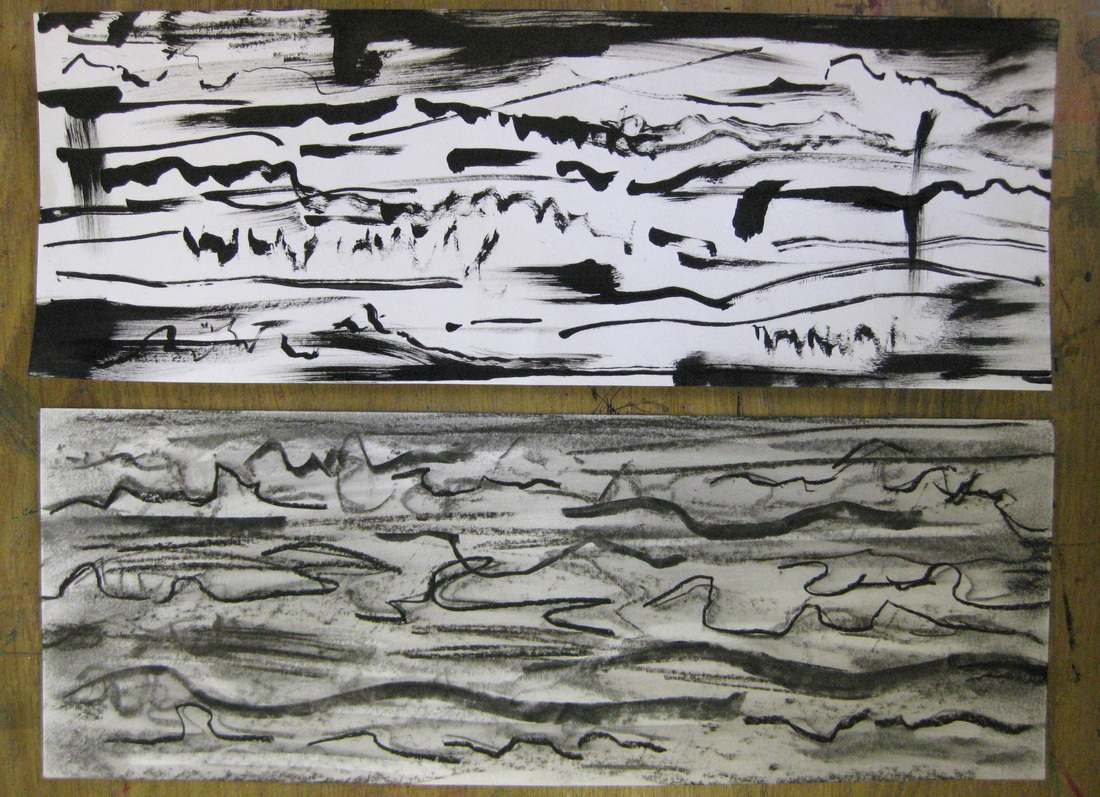
On day 1 we began by exploring making a variety of marks with ink and with graphite. We then explored making rubbings with graphite, using resists and creating drawings using highly textured photographic images for inspiration. On day 2 we used the materials developed on day 1 to create a collage piece. 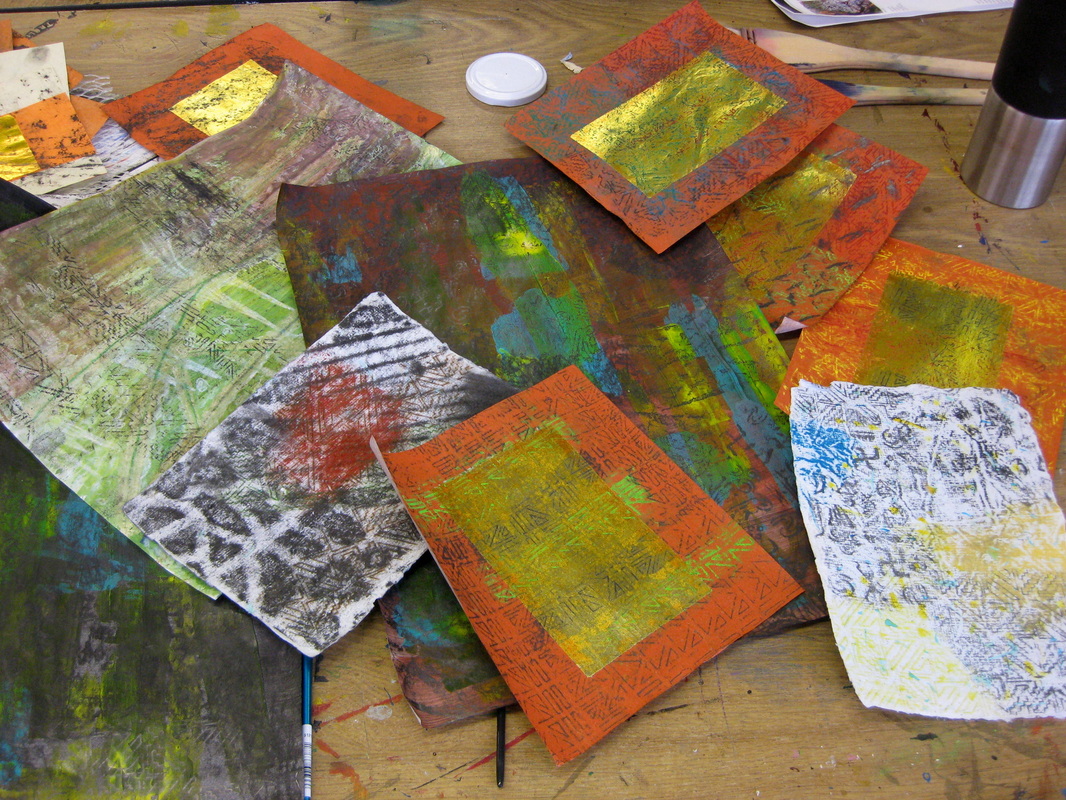
On the morning of day 2 I looked at what I had in my stash from day 1 and, frankly, it was rubbish! I had nothing of interest at all! Not to be defeated, I set about in a frenzy of activity to transform my wealth of nothing into something usable. Pictured above you see what I had at the end of my efforts. 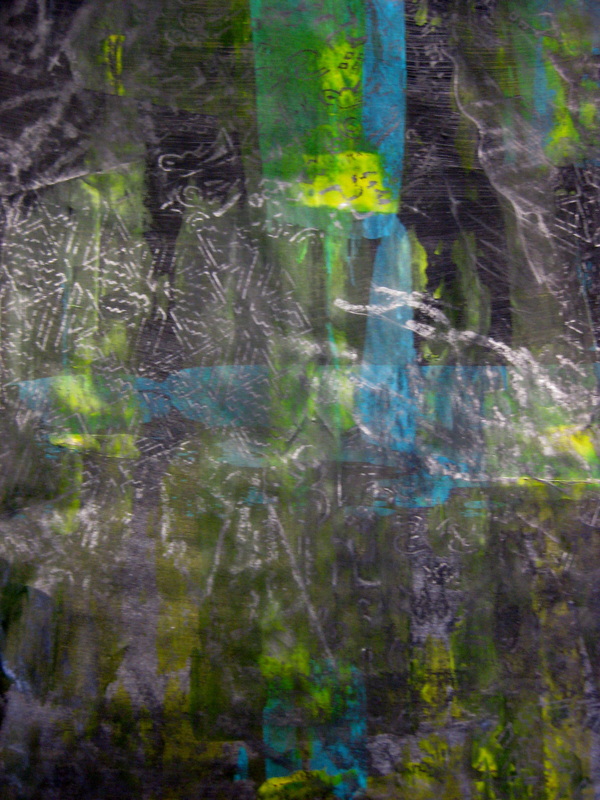
On day 1 we did an exercise where we painted a sheet of paper in a single colour with tonal values varying from very light to dark. My pieces were not graduated enough and looked pretty boring. I took this black one and scraped some blue and yellow acrylic paint across it. After drying I then took some wood blocks and made graphite rubbings over the top. 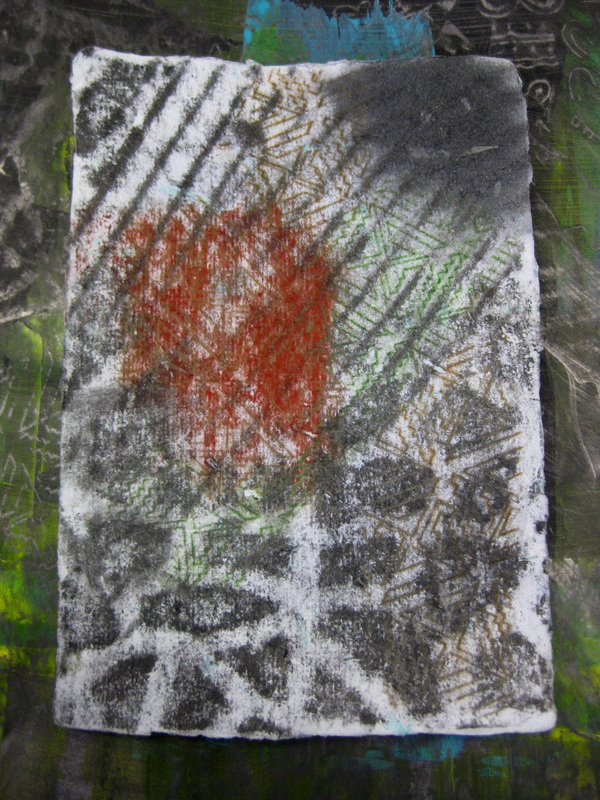
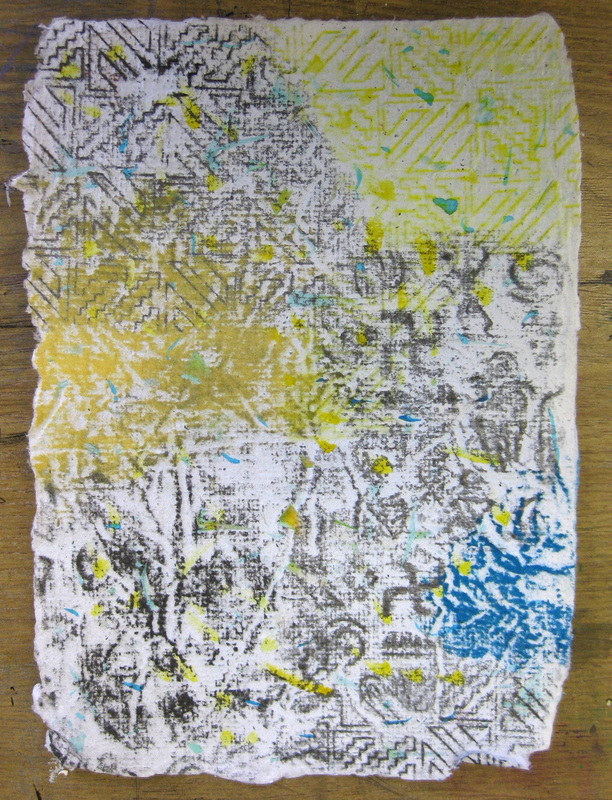
This is a piece of my own handmade paper. The rubbings I had done on day 1 just made it look dirty. I discovered that with a hard graphite stick, some chalk pastel and some wood blocks I could get some more defined marks. 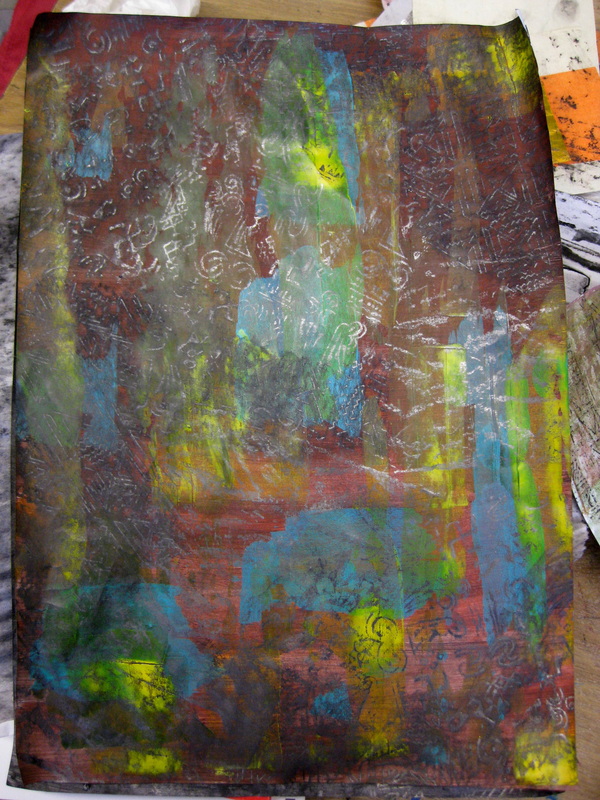
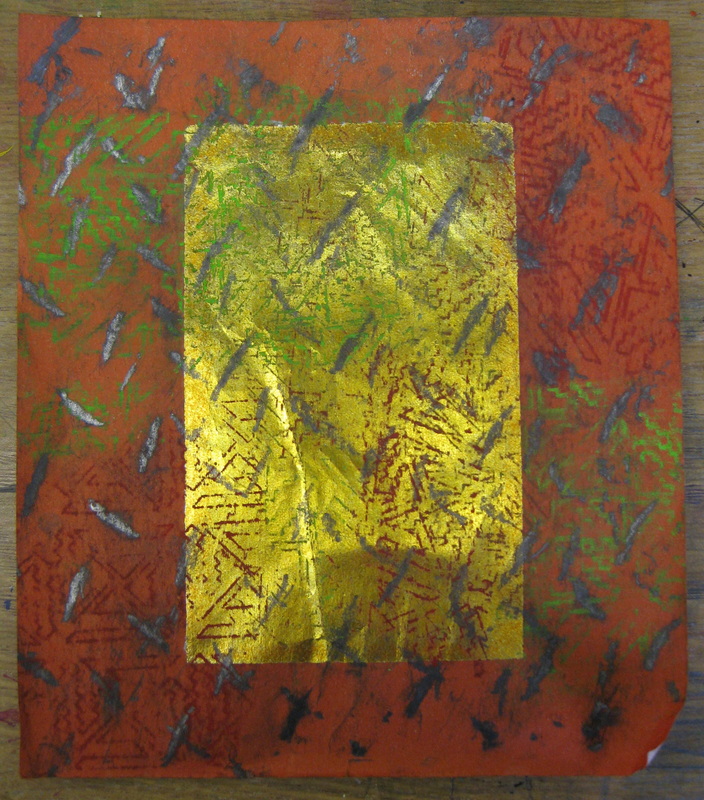
Another piece of paper painted on day 1 with rust coloured acrylic, overlaid with blue and yellow acrylic paint and graphite rubbings. 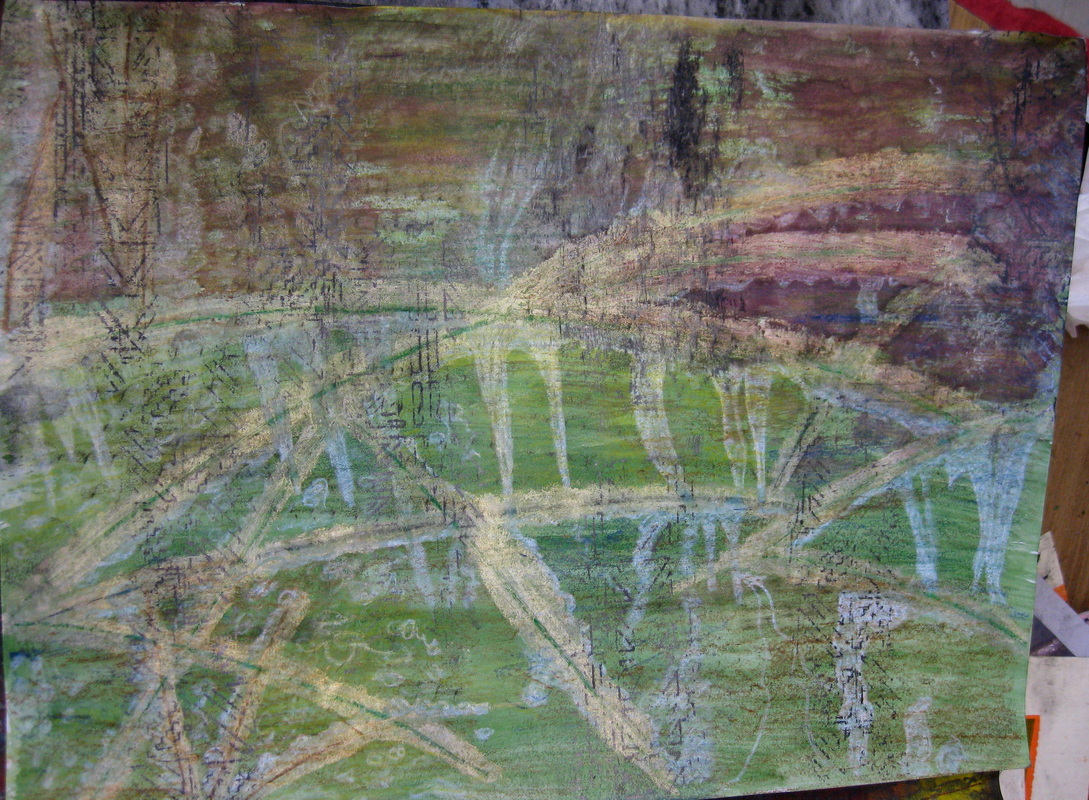
This was the drawing I did on day one using inktense pencils, Koh-i-noor progresso pencils, lumigraph pencil and Shiva oil sticks after I reworked it and overlaid it with some graphite rubbings. 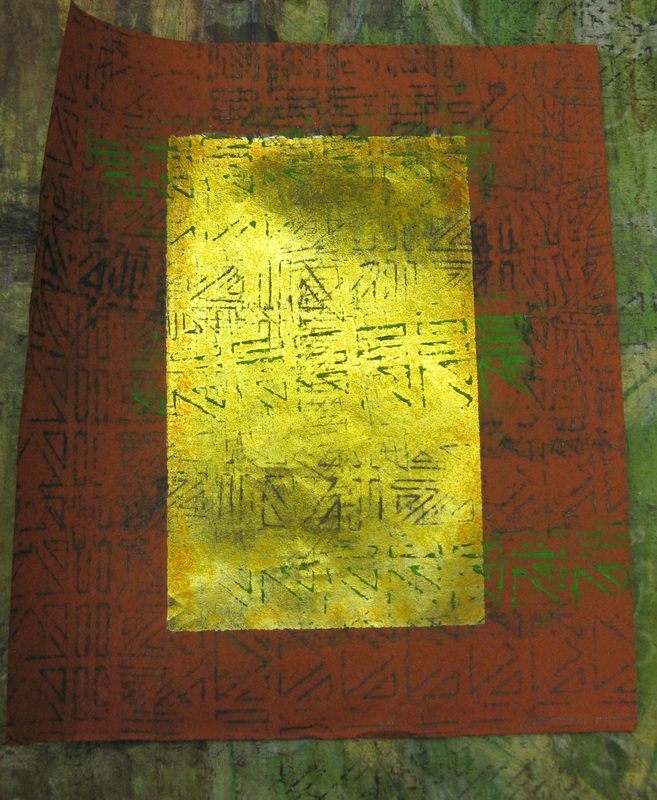
Chinese Joss paper rubbings made with wood blocks and graphite and chalk pastel. 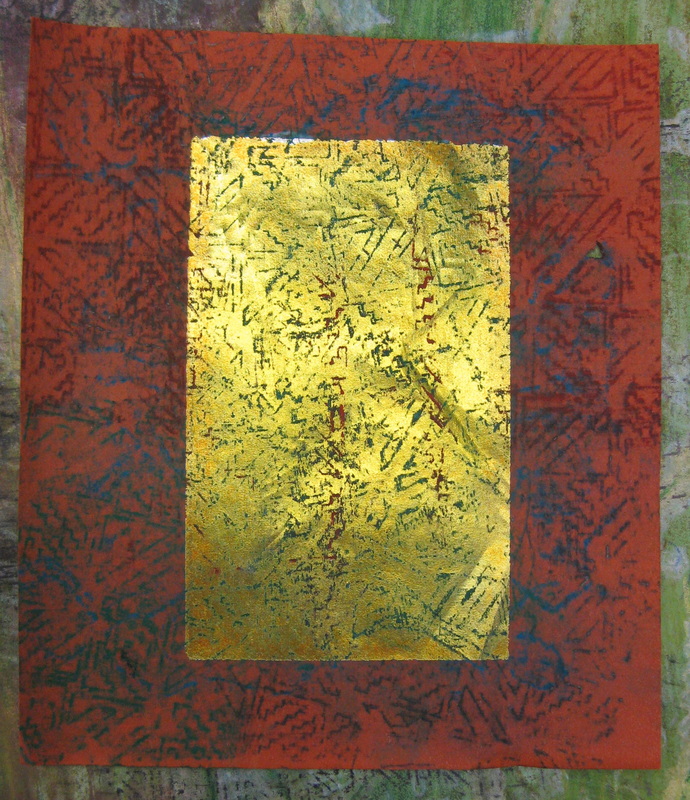

...more hand made paper 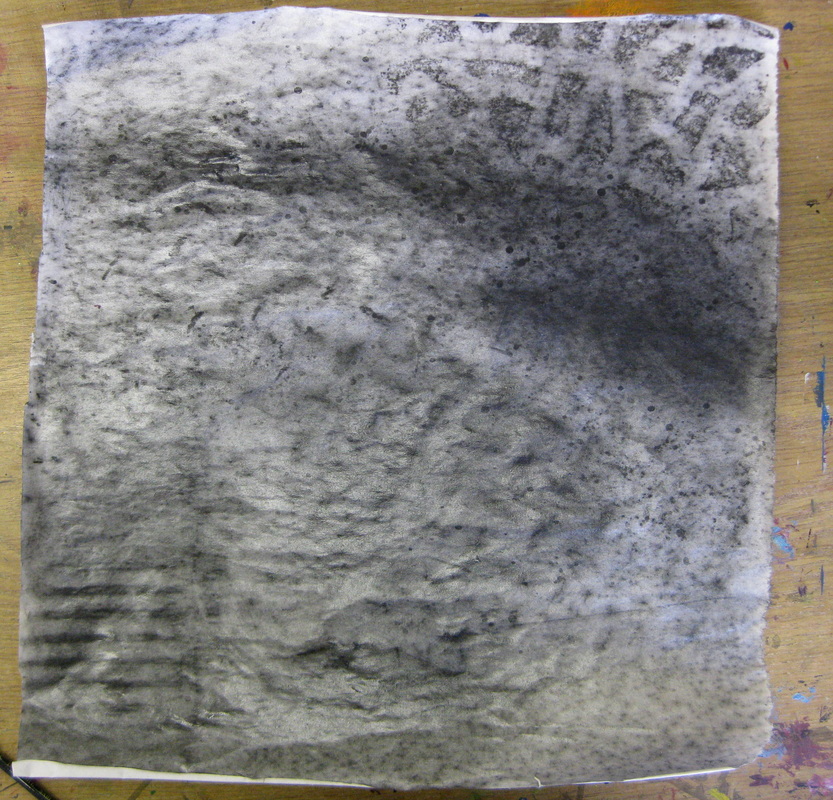
Graphite rubbings onto newsprint, using both graphite powder and graphite sticks of varying hardness, and then lacquered with a water based clear estapol. The lacquer makes the paper quite leathery and seals the graphite. It gives the paper a really interesting quality that decreases its fragility and allows you to tear it, glue it, or even stitch into it without damaging it. 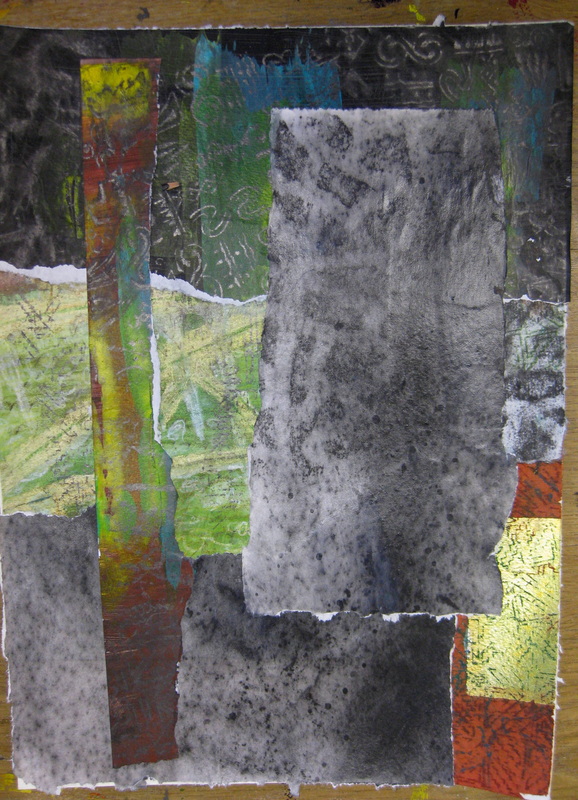
By the end of day 2 I had 2 collaged pieces with the potential for further development (pictured above and below). 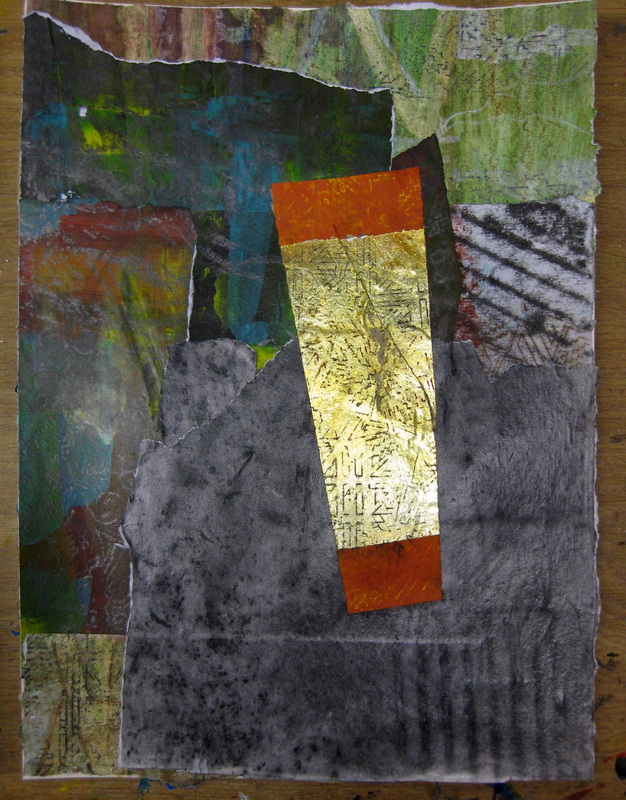

When I got back to my studio I reworked over the collage with black progresso pencil to make the collage more cohesive and less "raw" looking. On this one you can see that I have already punched holes for stitching into. 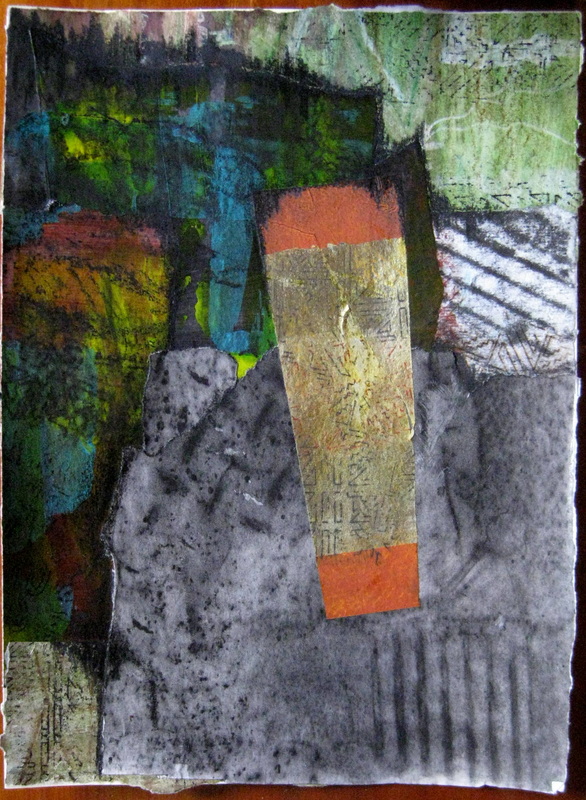
The second piece reworked. 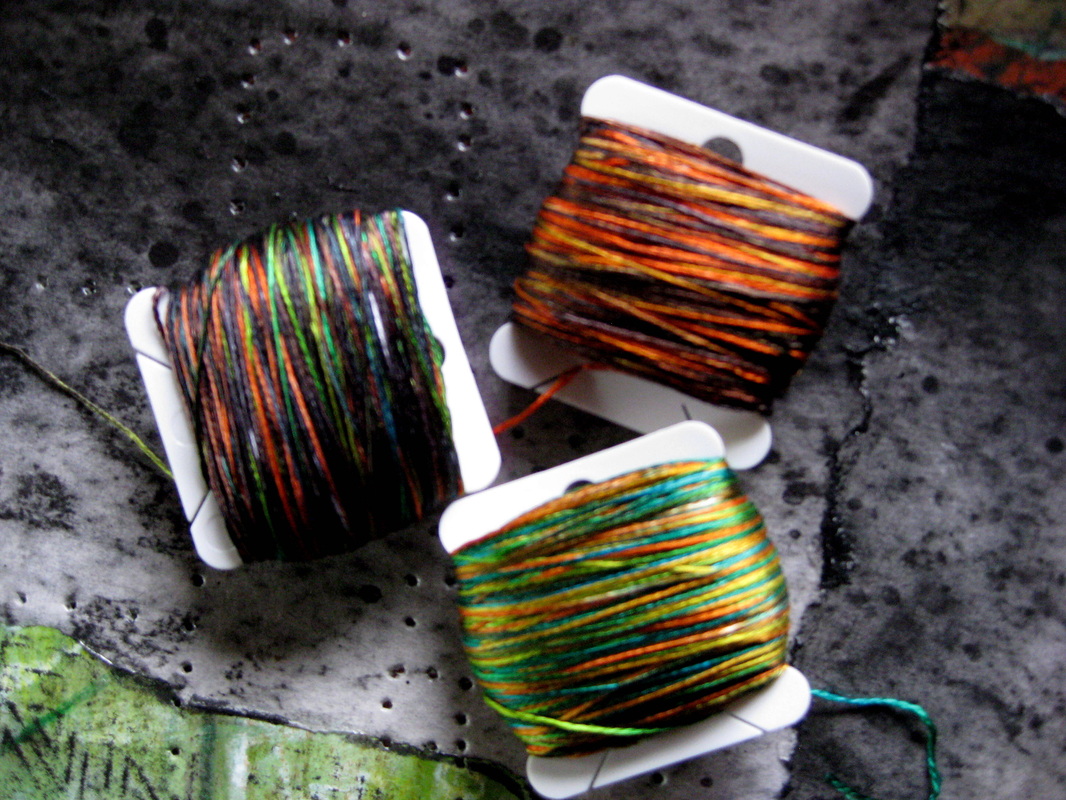
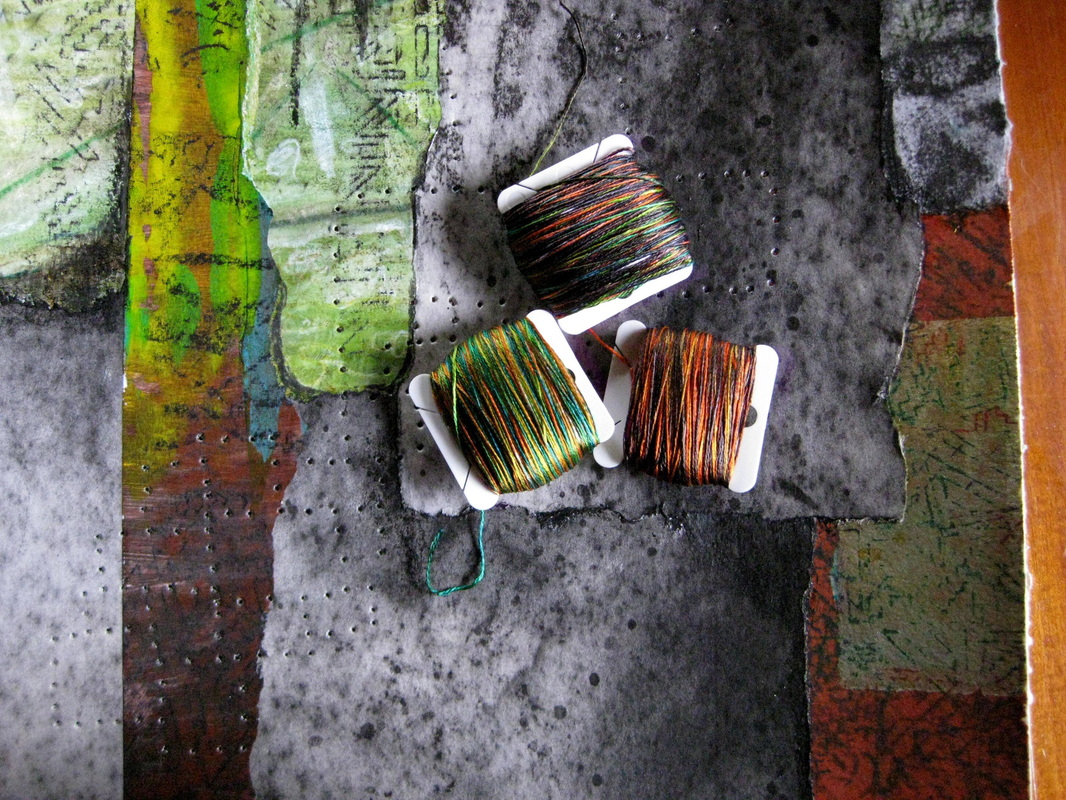
Variegated silk threads ..... 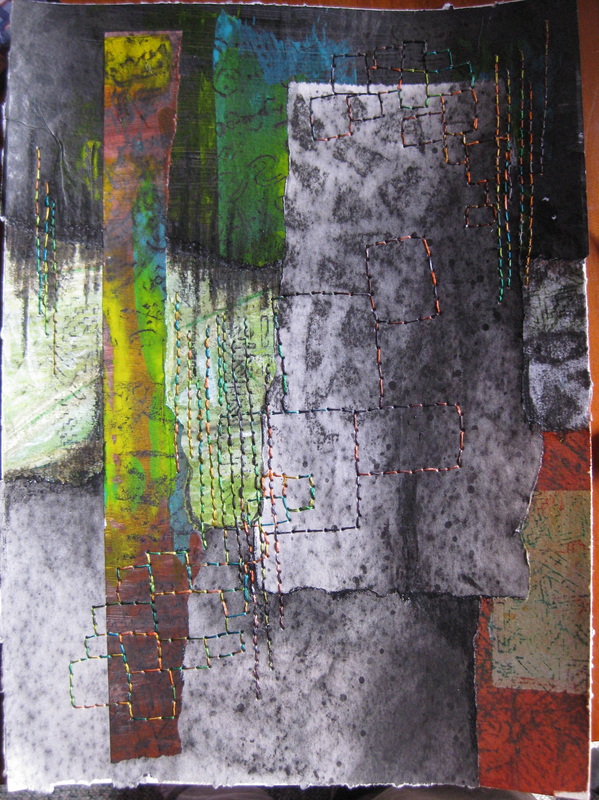
After stitching I felt that the large squares in the centre were not bold enough..... (you need to click on the photo for a larger image to see the stitching better). 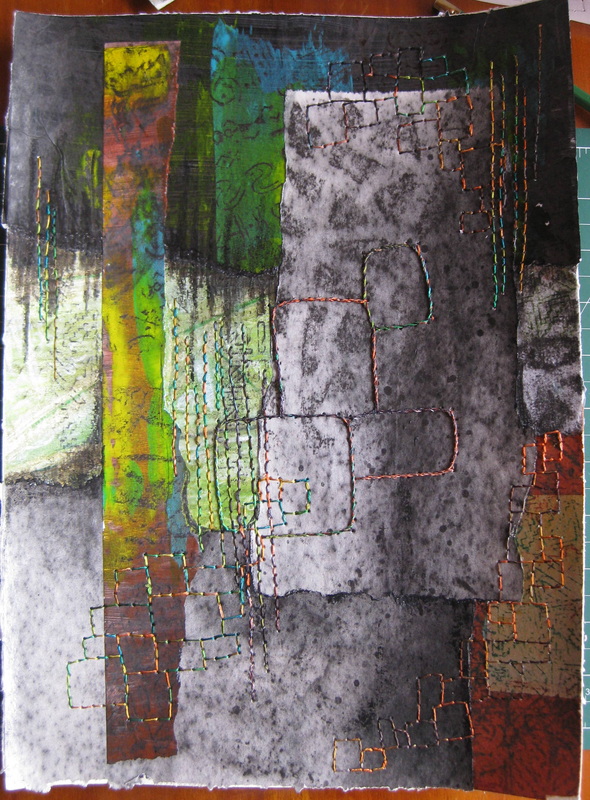
.....so I whipped over the double running stitch twice to make them bolder.
I got so much out of this workshop. If you have a chance to do one of Caroline's classes I highly recommend that you jump at it. Not only was it great on its own, but this workshop really complemented the Tony Dyer Workshop I did the following weekend (blogged previously here).
2 Comments
I recently had the immense pleasure of participating in a textile printing workshop taught by accomplished Australian textile artist, Tony Dyer. The workshop was held over two days at the Maker's Workshop in Burnie, Tasmania. Day 1 involved dyeing some fabrics, both silk and cotton, with Procion Mx dyes. 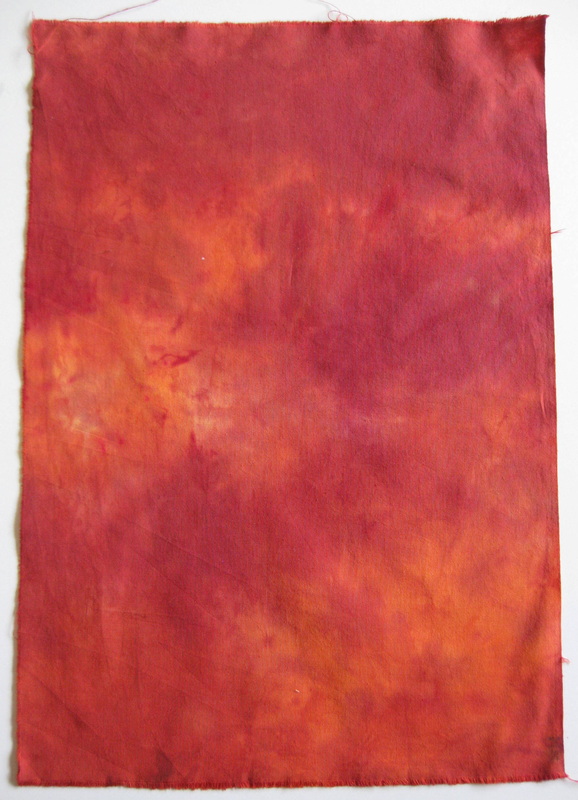
These samples were dyed using two colours poured into a zip lock bag and smooshed through the fabric. 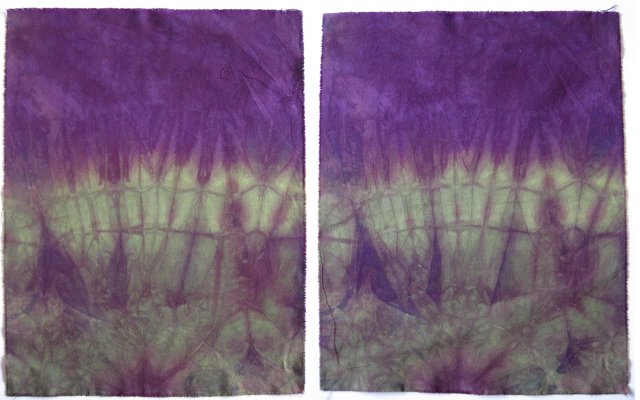
The above sample was my fabulous and unexpected surprise. I have photographed both sides of the fabric to show that dyed fabrics have 2 sides which have a different appearance giving you the option of choosing the one that appeals the most. 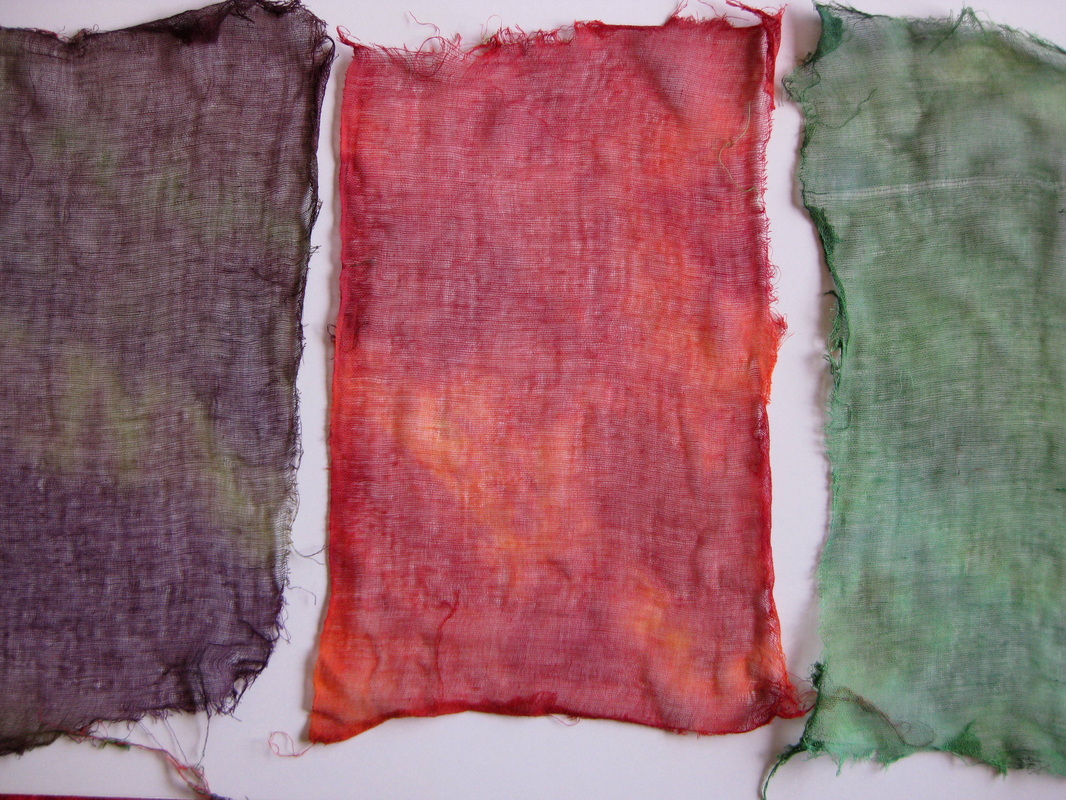
Soft contrasts achieved on cotton muslin. 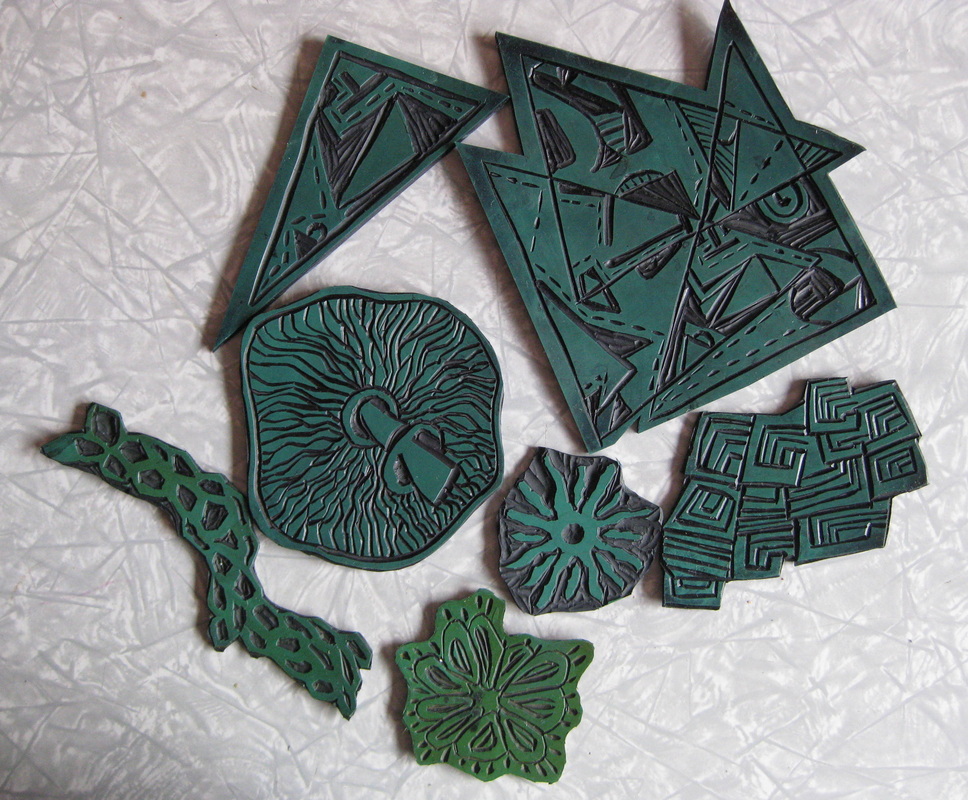
We did a variety of design exercises using an existing textile as a reference. My piece was an embroidered cuff from the Chinese Hmong people. It had very geometric elements from which I created the top 2 lino cuts based on triangles. We were to use our lino cuts to create printed fabrics on day 2. Feeling that my 2 triangular lino cuts would limit my scope on day 2, I went home in the evening and cut five more designs. 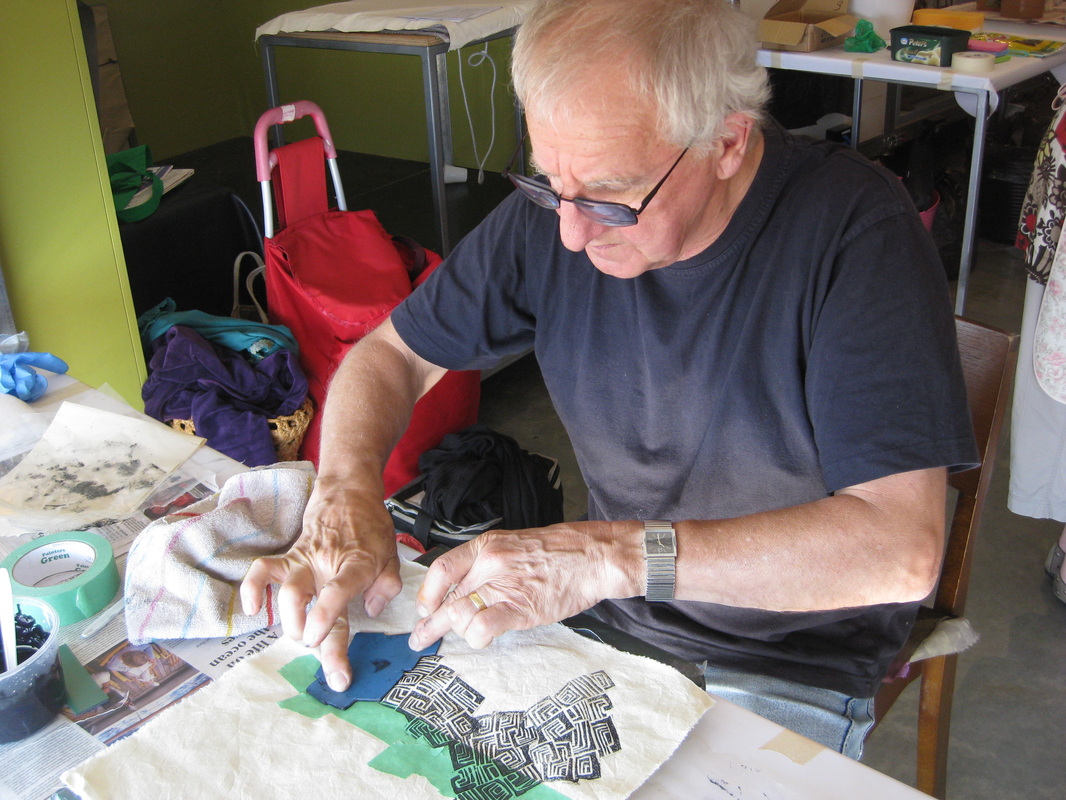
Here, Tony demonstrates how to create a complex print using my lino cuts and creating a negative space by masking of the middle of the fabric. 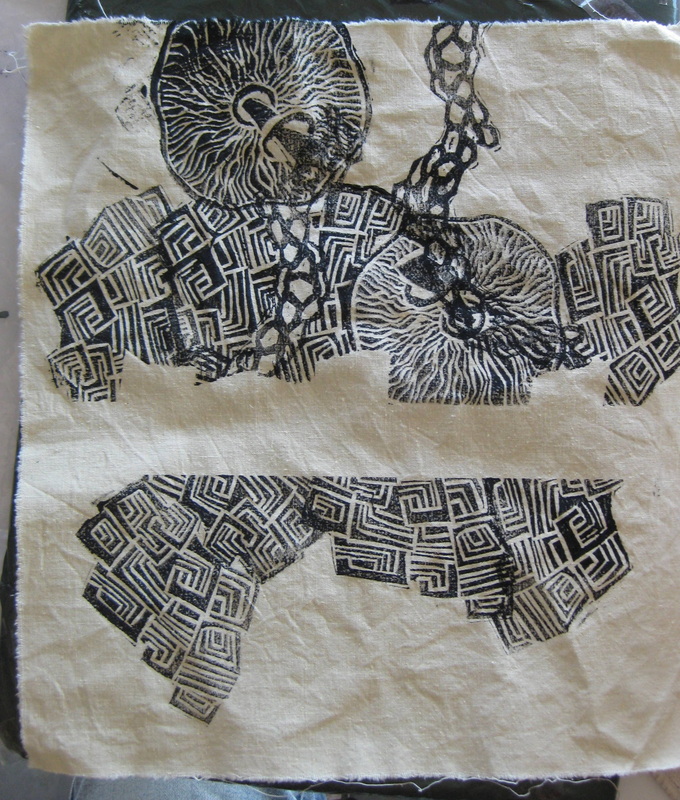
In progress....... 
Here's how it looked finished. I added a few more stamps - which printed poorly but gave a better balance. I then painted on the dyes over the top of the printing. Before painting I masked out the white area which links the lines of the narrow curved stamp. The colours were much lighter when they fixed and dried, which was a bit disappointing because they were really dark and lush when wet. But still looks ok, I think. 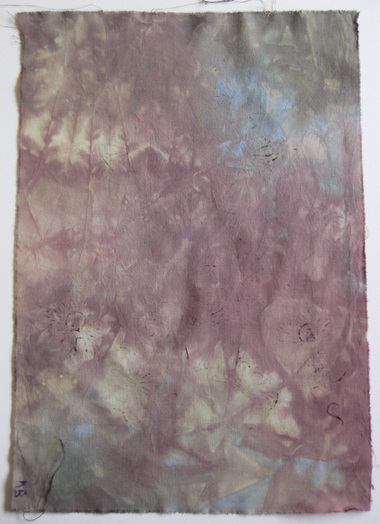
This is a piece of fabric I dyed in a large bucket of dyed. Interestingly the dye was an olive green colour, but an idiosyncracy of Procion Mx dyes is that they can, and often do, disperse into the colours used to mix the solid colour. It was rather washed out and looked like a rag that I had used to wipe up spilt dye. 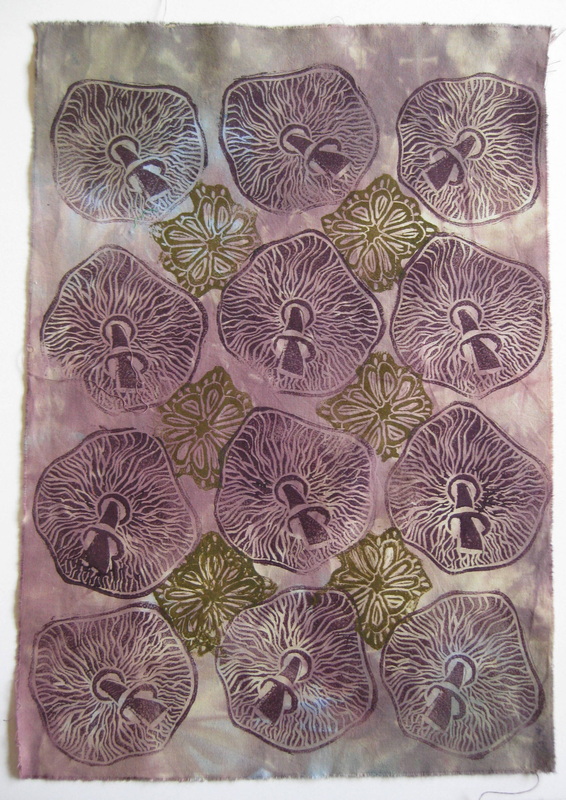
Here's how I transformed that ugly piece of fabric! This piece is destined to be the front panel for a wrap skirt. I was really please with the fine detail I achieved with the mushroom stamp. 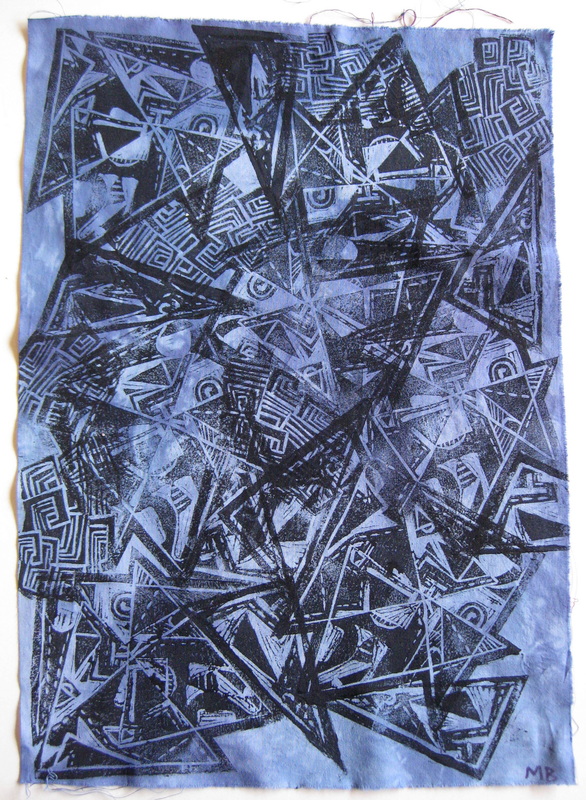
Complex pattern created with my 2 triangle prints allowing extensive overlapping. 
Print on silk with textured background created by monoprinting. 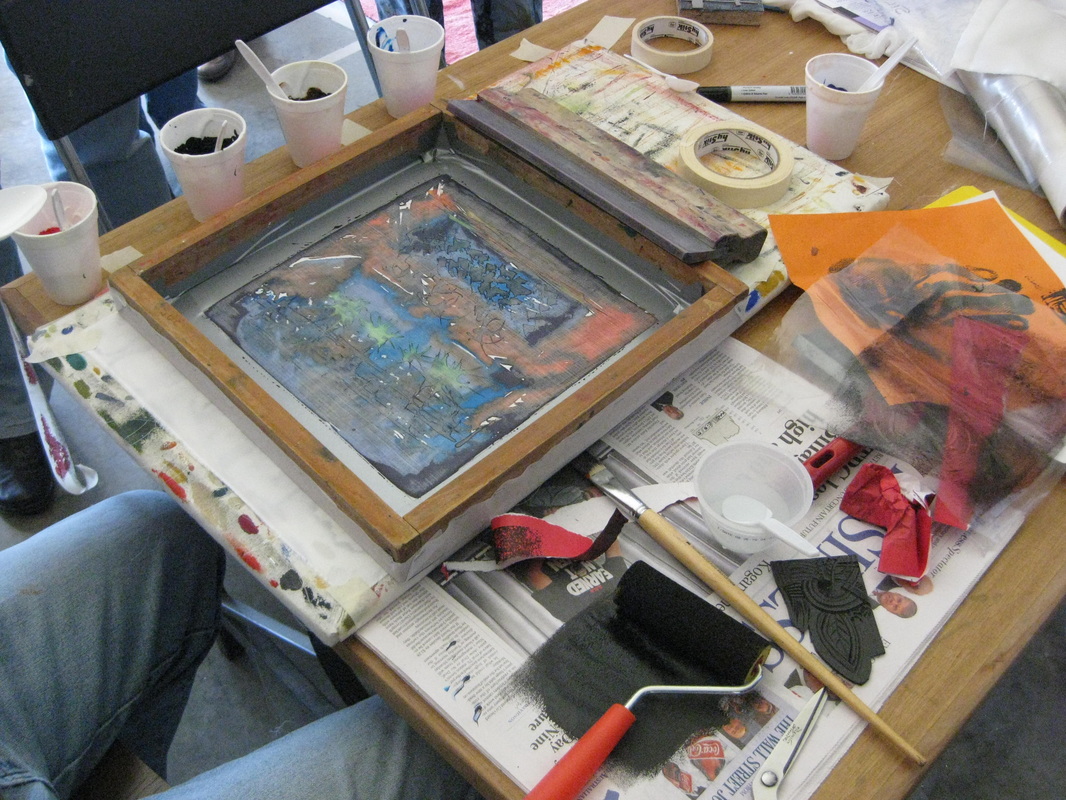
Tony demonstrated the technique of polychromatic printing. A design is first painted onto the right side of the print screen using Procion Mx dyes mixed with water only. 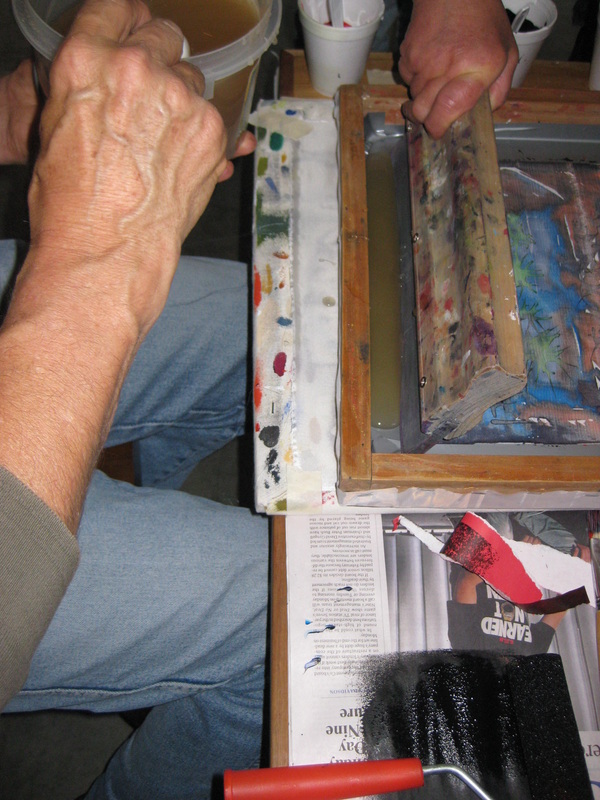
Tony applied manutex to the screen and the design was transferred to the underlying fabric after a couple of pulls. The manutex transfers and fixes the design to the fabric. It has the advantage of maintaining a soft hand after the print dries, an absolute must for those of us working with silk. 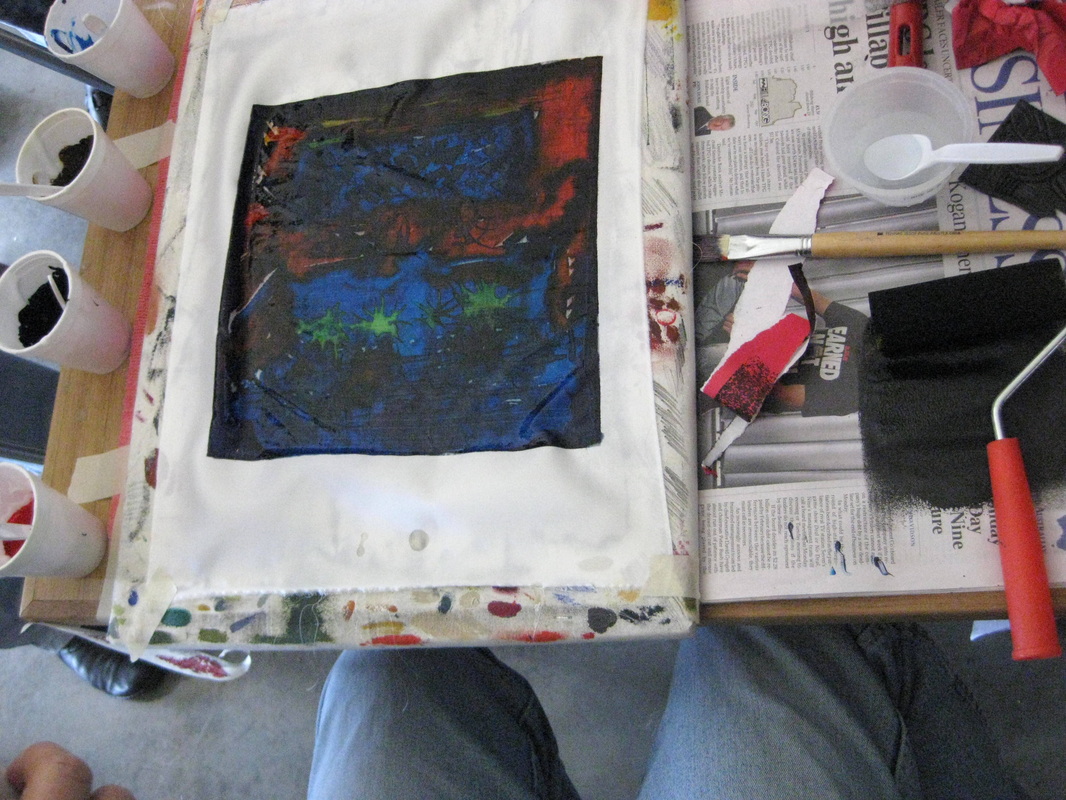
Print successfully transferred to the fabric. 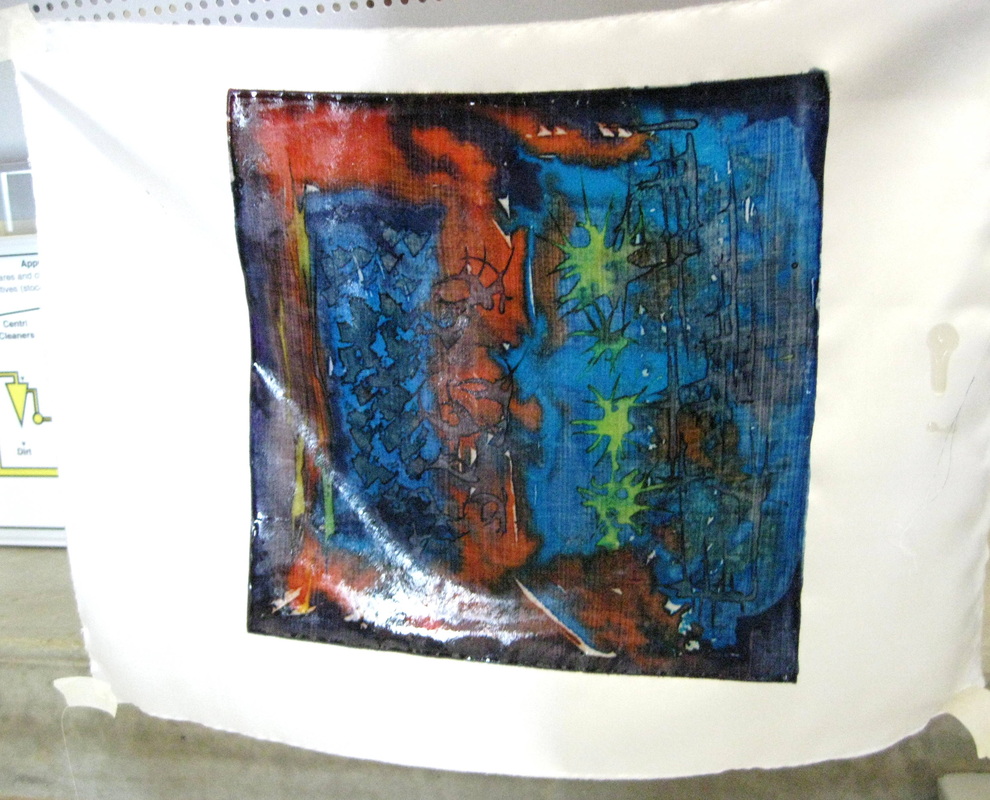
Polychromatic print hanging to dry. 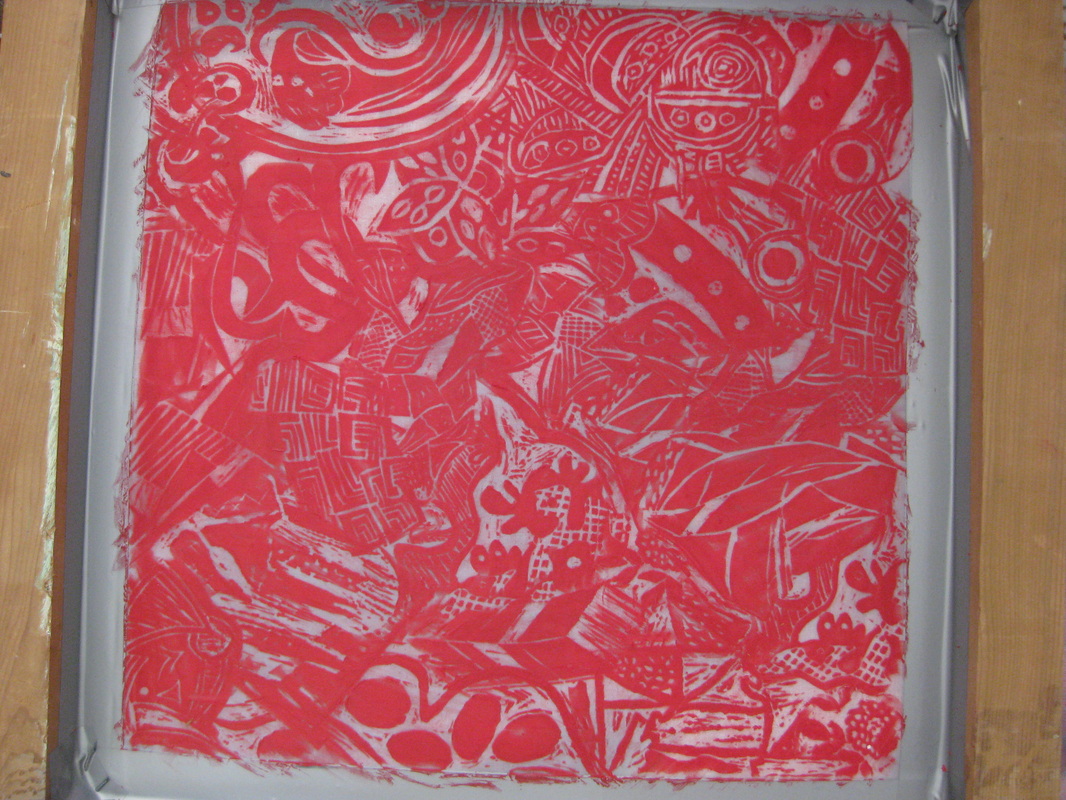
Tony created this design by making wax crayon rubbings directly onto the screen using selected lino cuts from each participant thus forming a snapshot of the activities of the workshop. 
The screen after black printing ink applied. 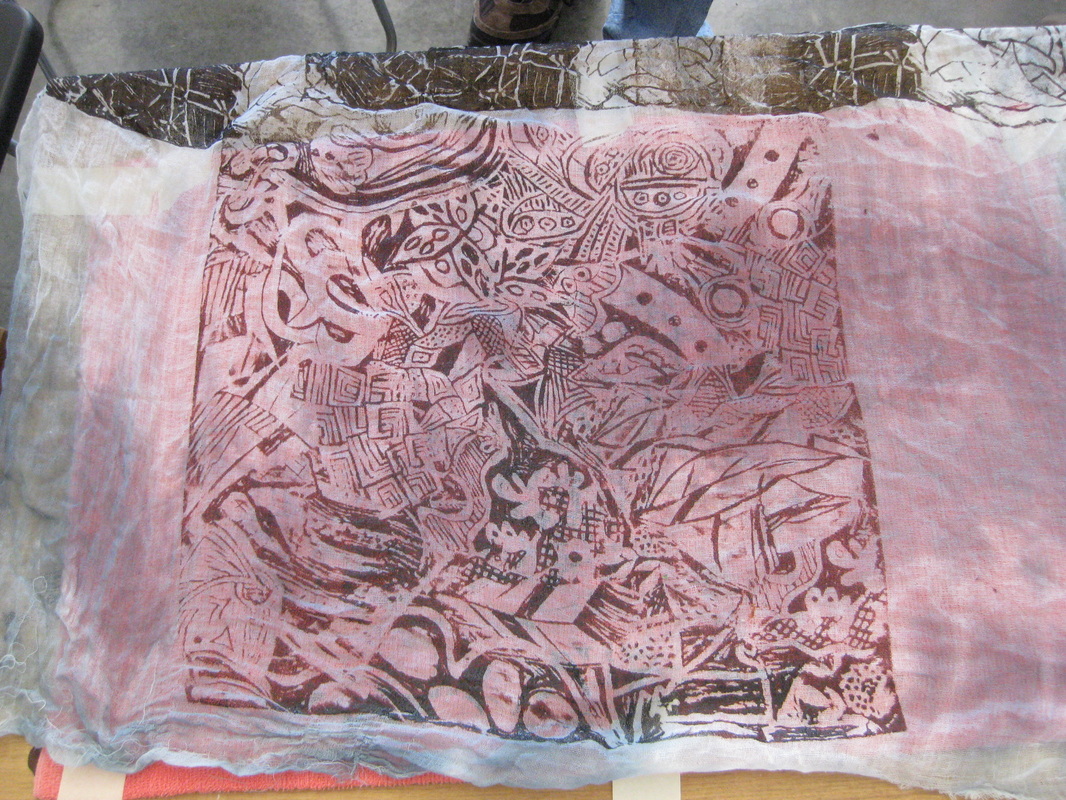
The first print on a piece of muslin. 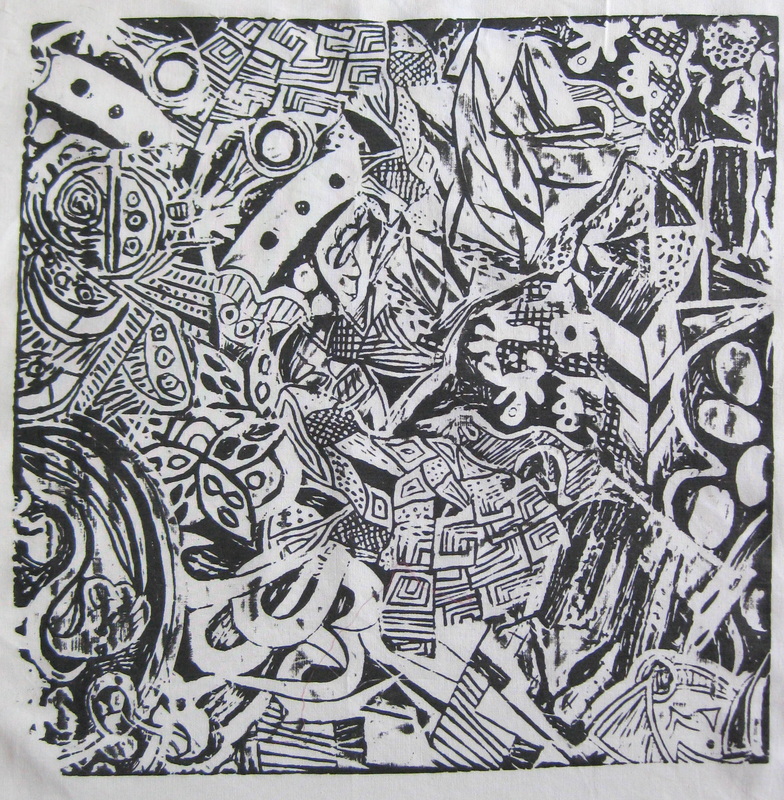
We all promptly lined up to have our own copy printed. Mine is on cotton poplin on which the details become very well defined. I'm not sure what I will do with this yet..... 
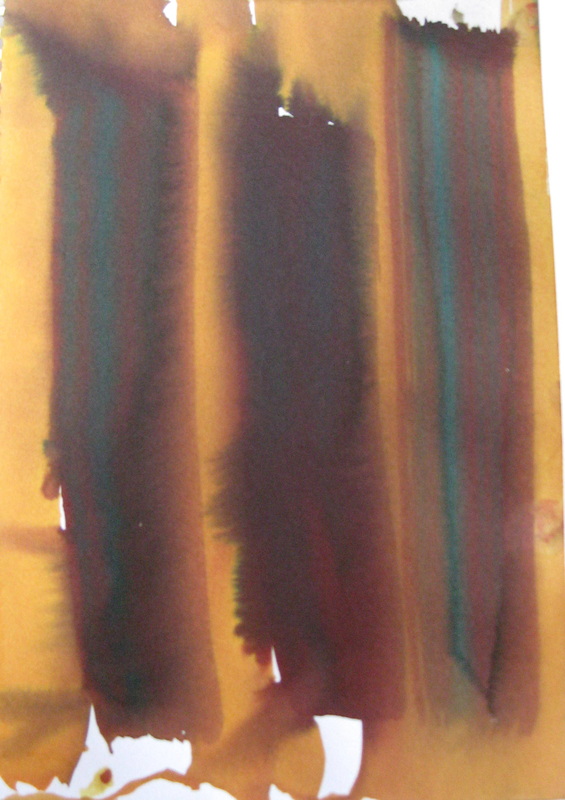
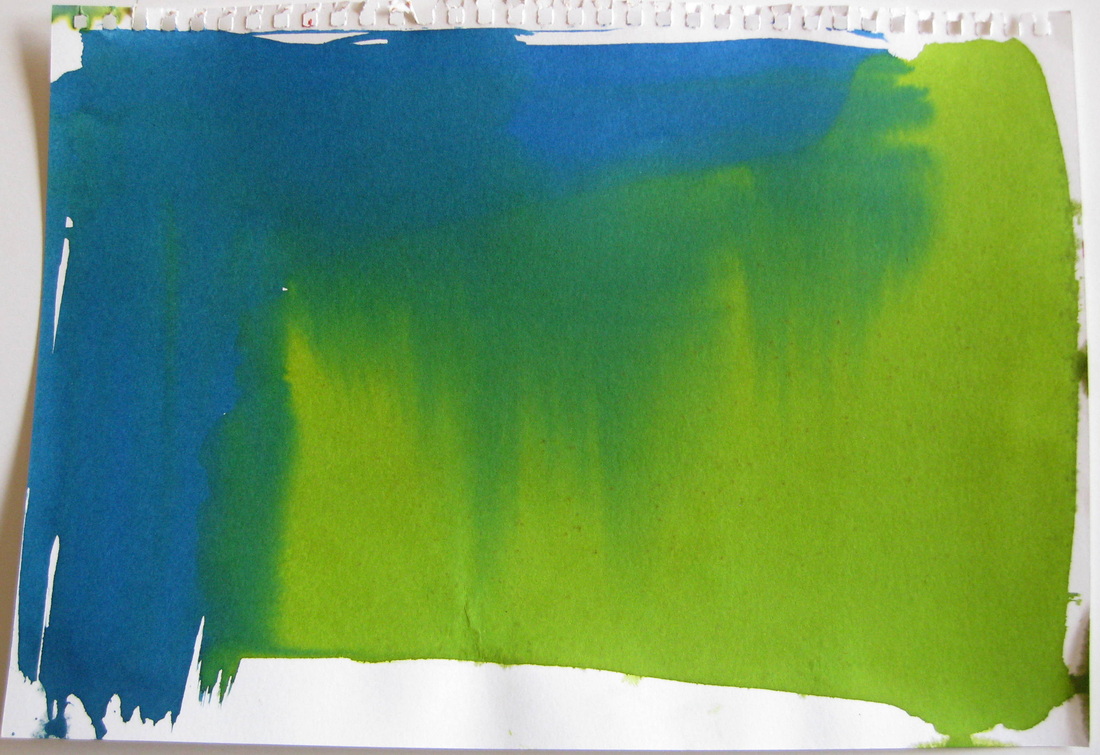
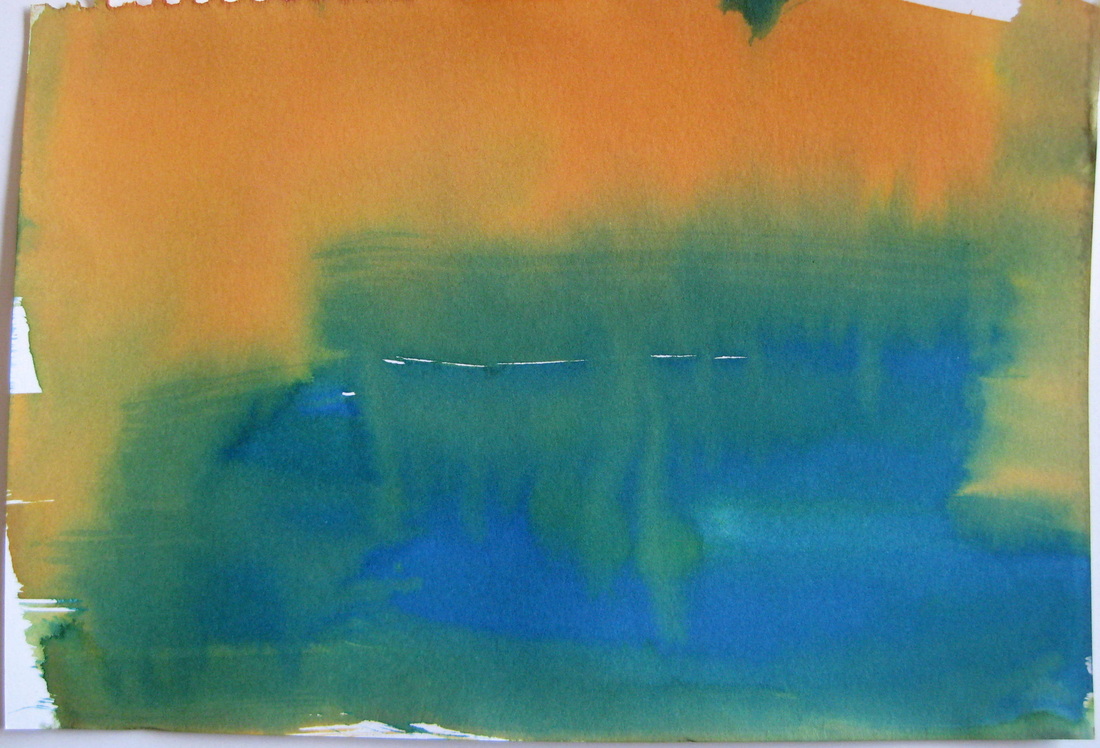
Nothing was let go to waste. Left over Procion dyes were painted onto paper. I used this piece as a test strip for my prints. The rest were created in a final flourish just before the end of the class. They will go into my library of papers for use at a later date. 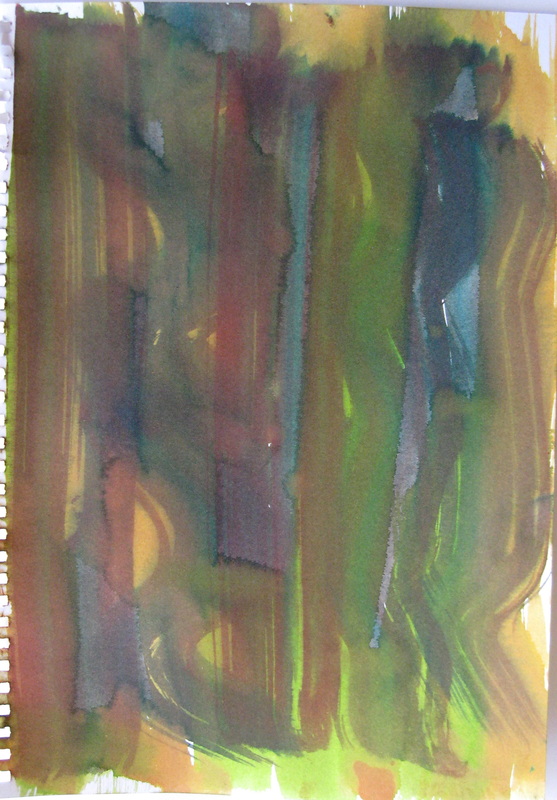

I cannot overstate how fabulous this workshop was. Tony was fantastically generous and I learned an enormous amount both in terms of skills and design development. If you are fortunate enough to have the opportunity to attend one of his workshops, I highly recommend that you participate.
|
This blog was previously at another site. To view older blog posts please click here.
AuthorI am a hand embroidery artist living and working in the rugged and wild Central HIghlands of Tasmania. Archives
October 2014
Categories
All
|
 RSS Feed